|
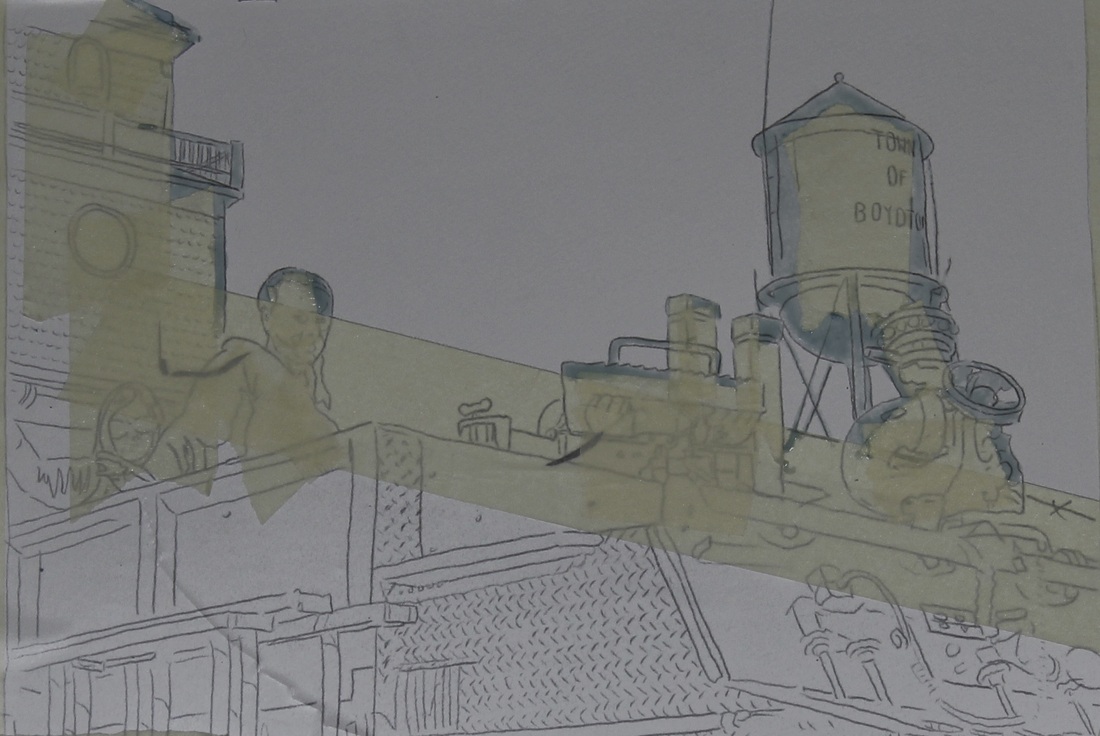
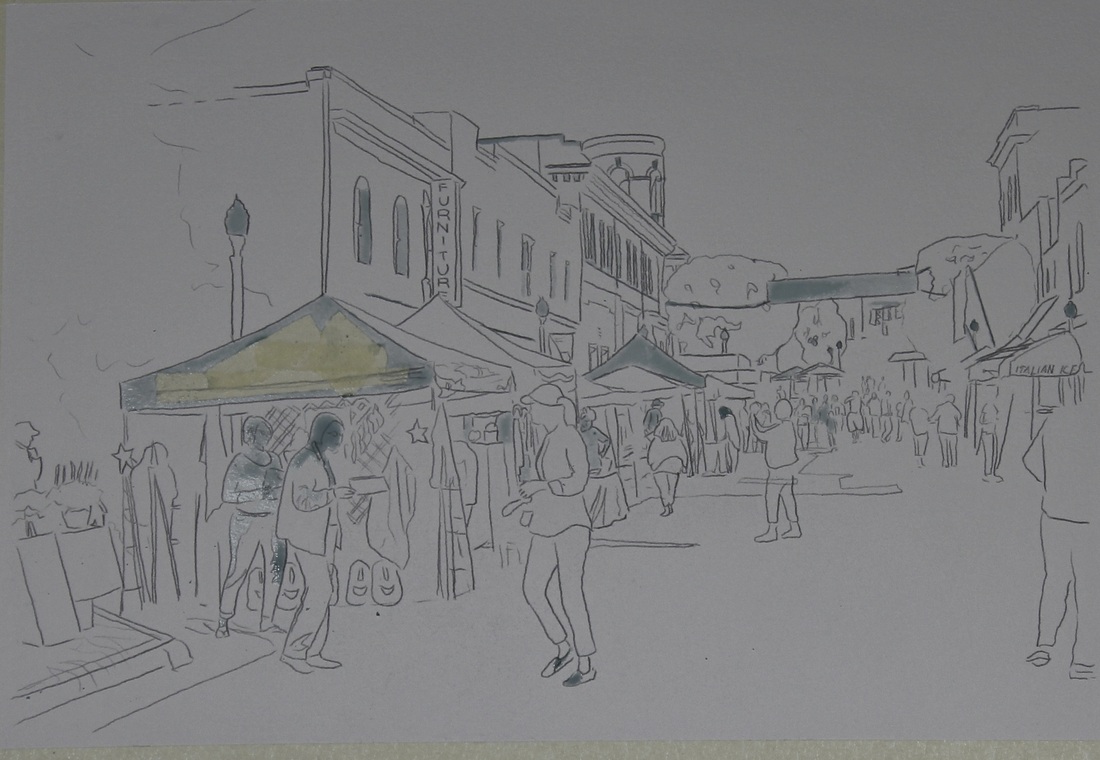
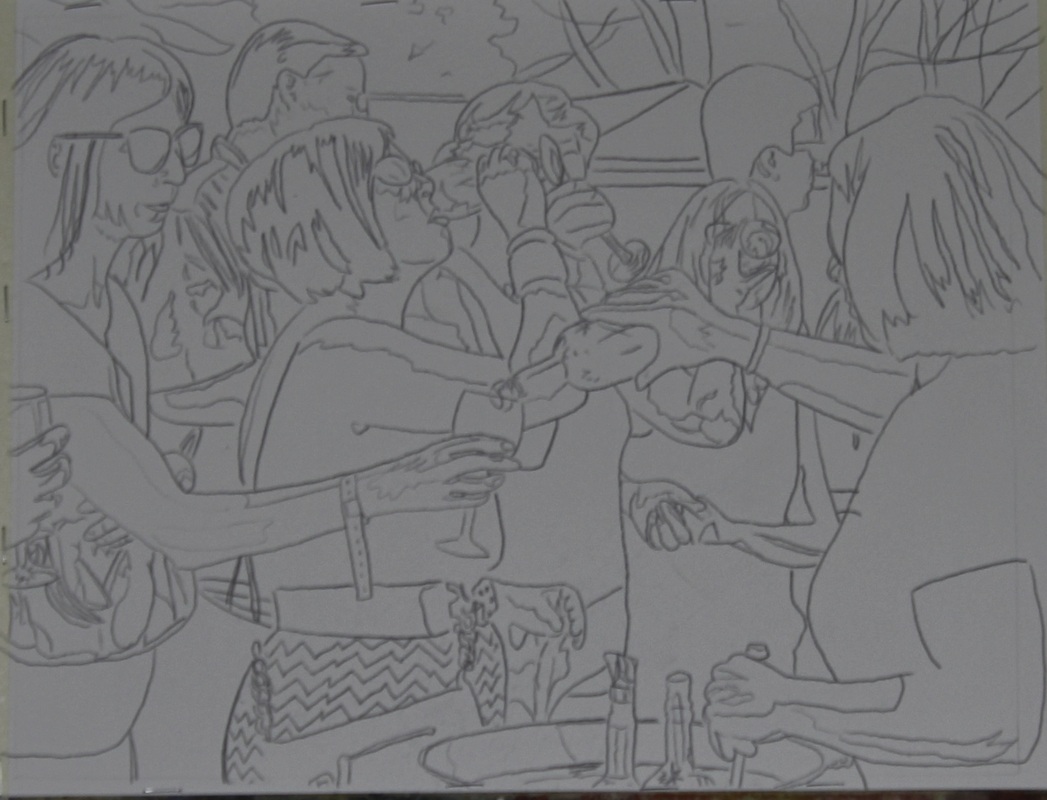
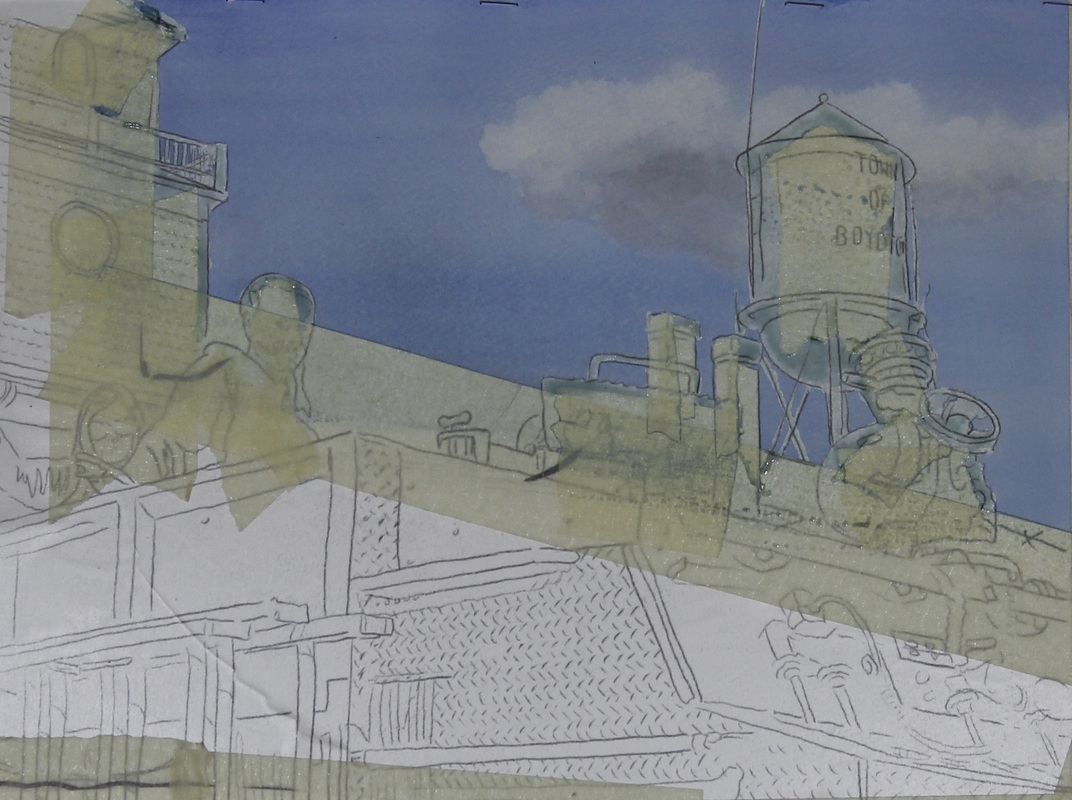
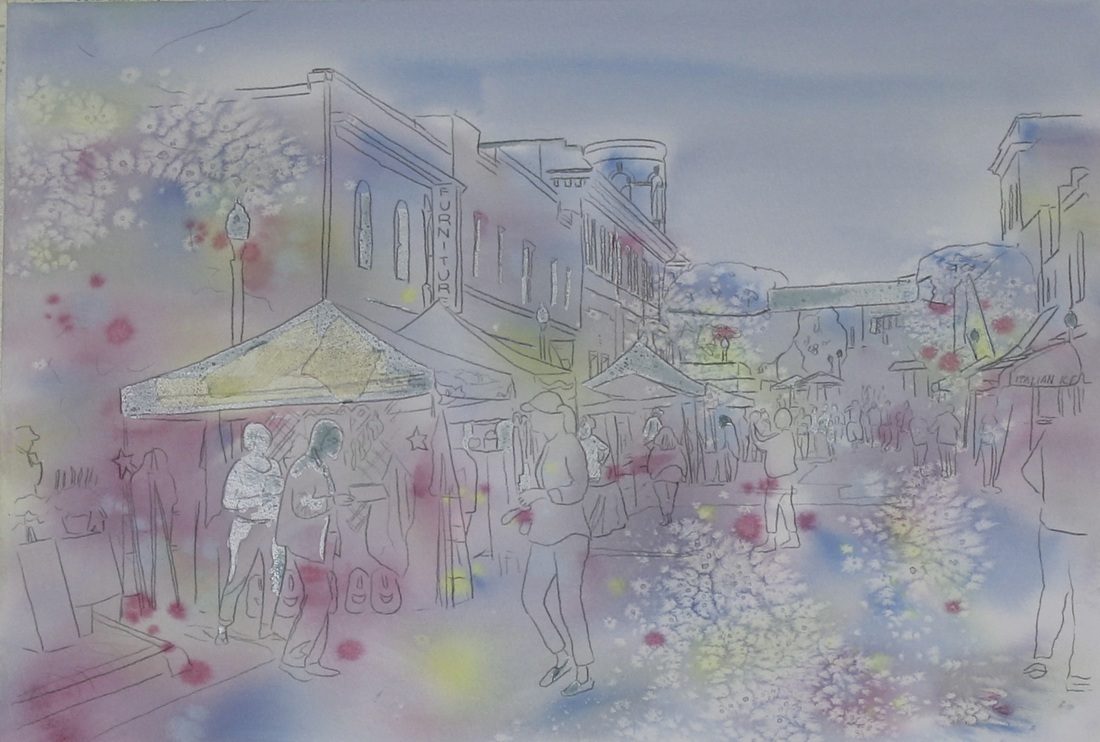
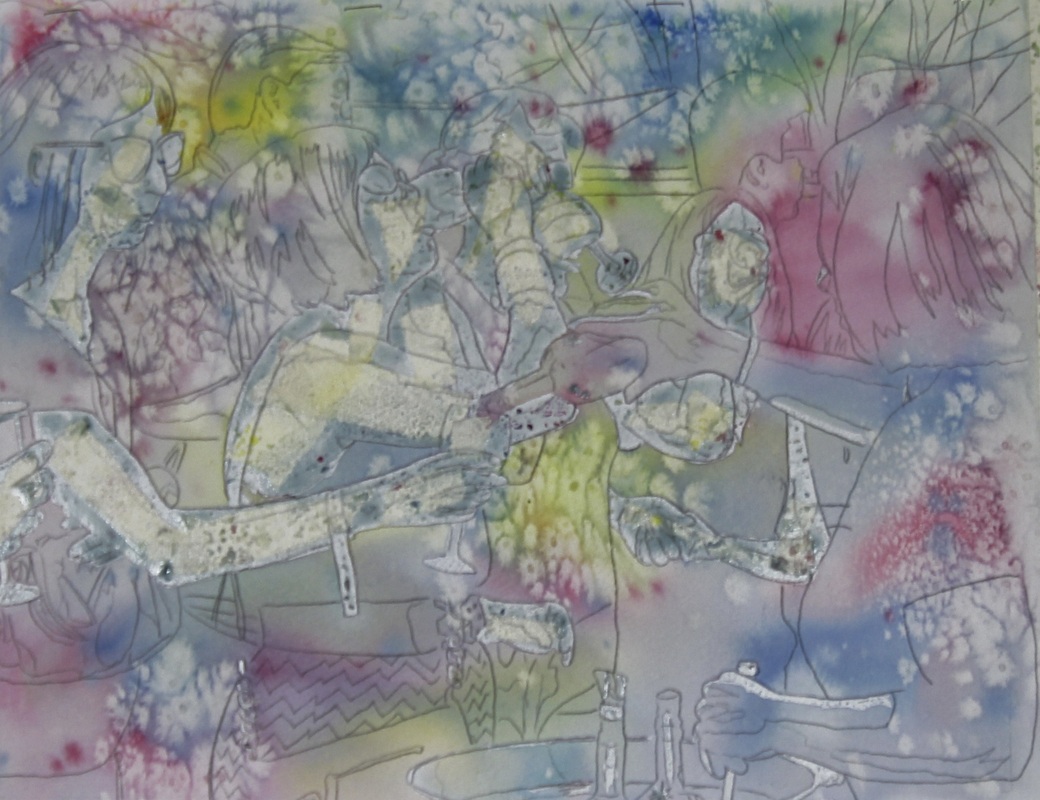
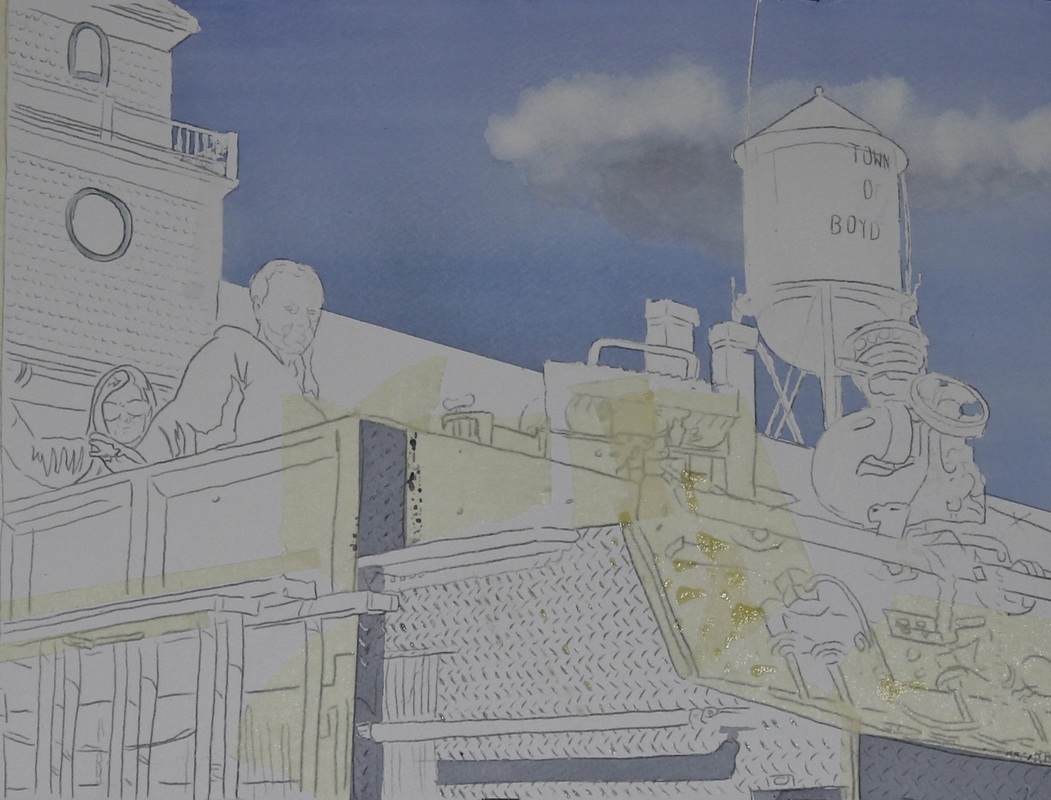
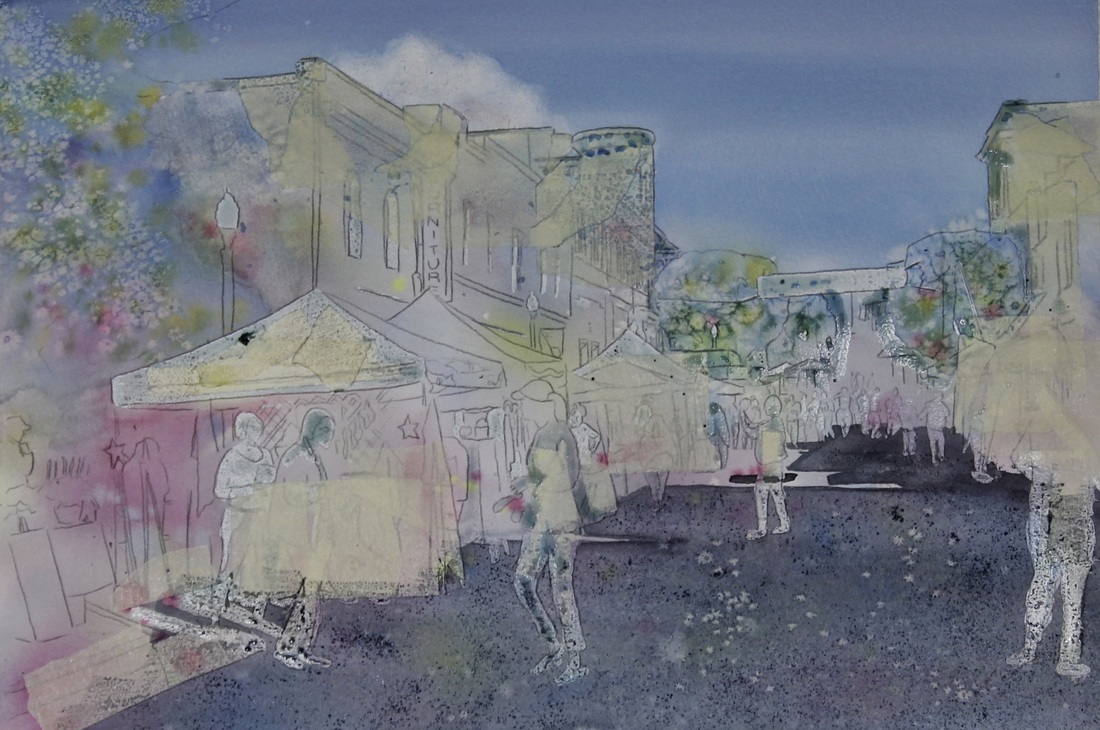
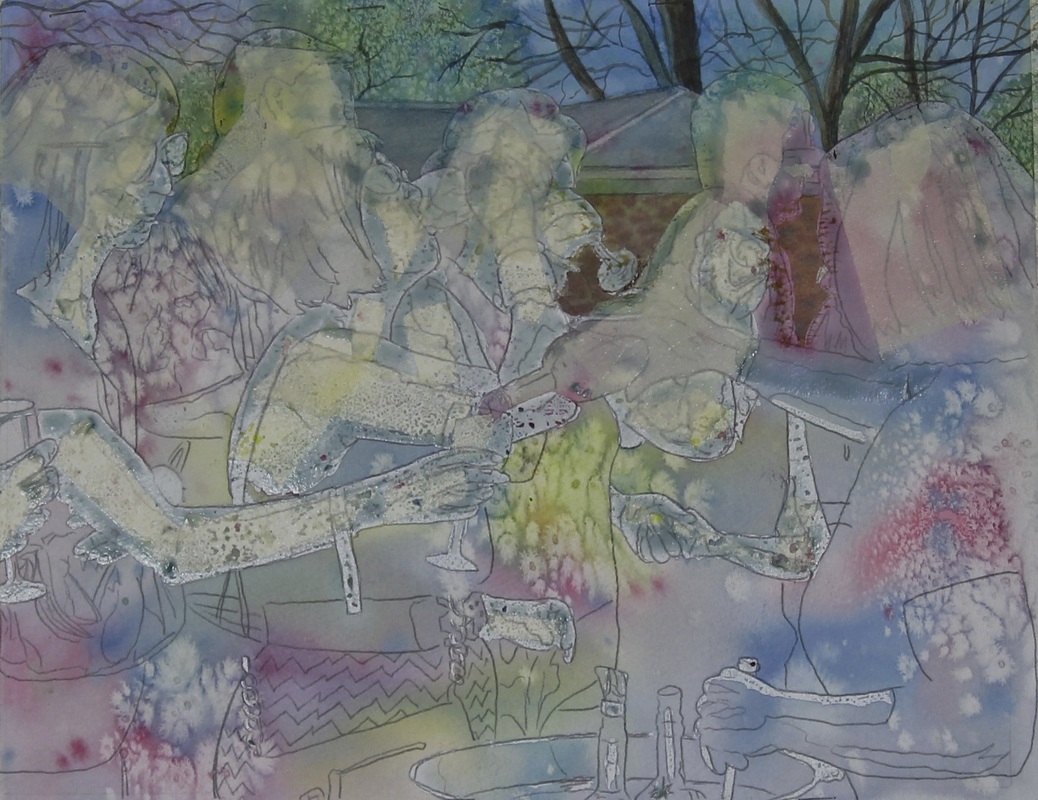
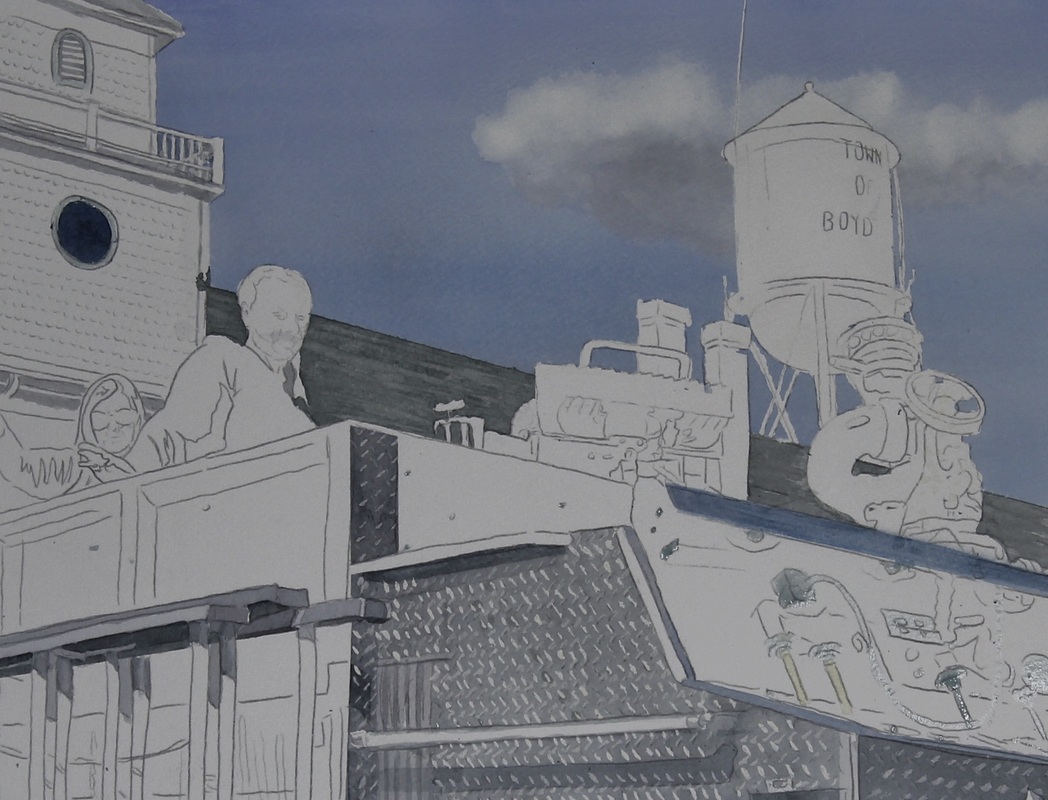
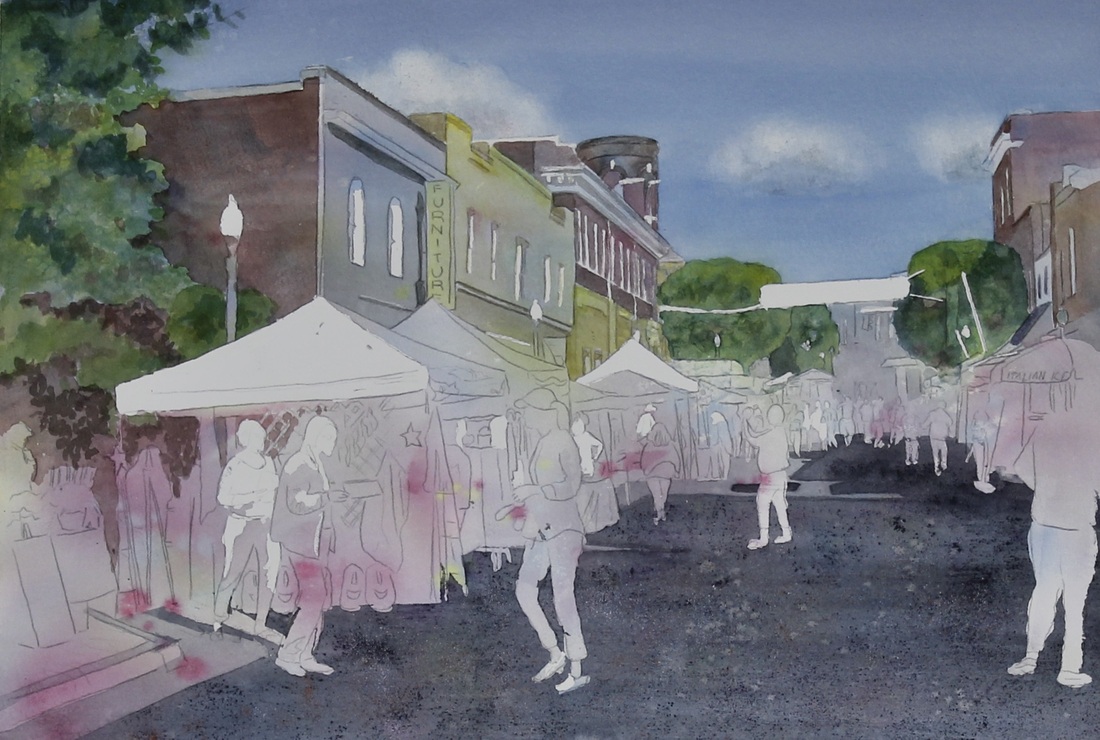
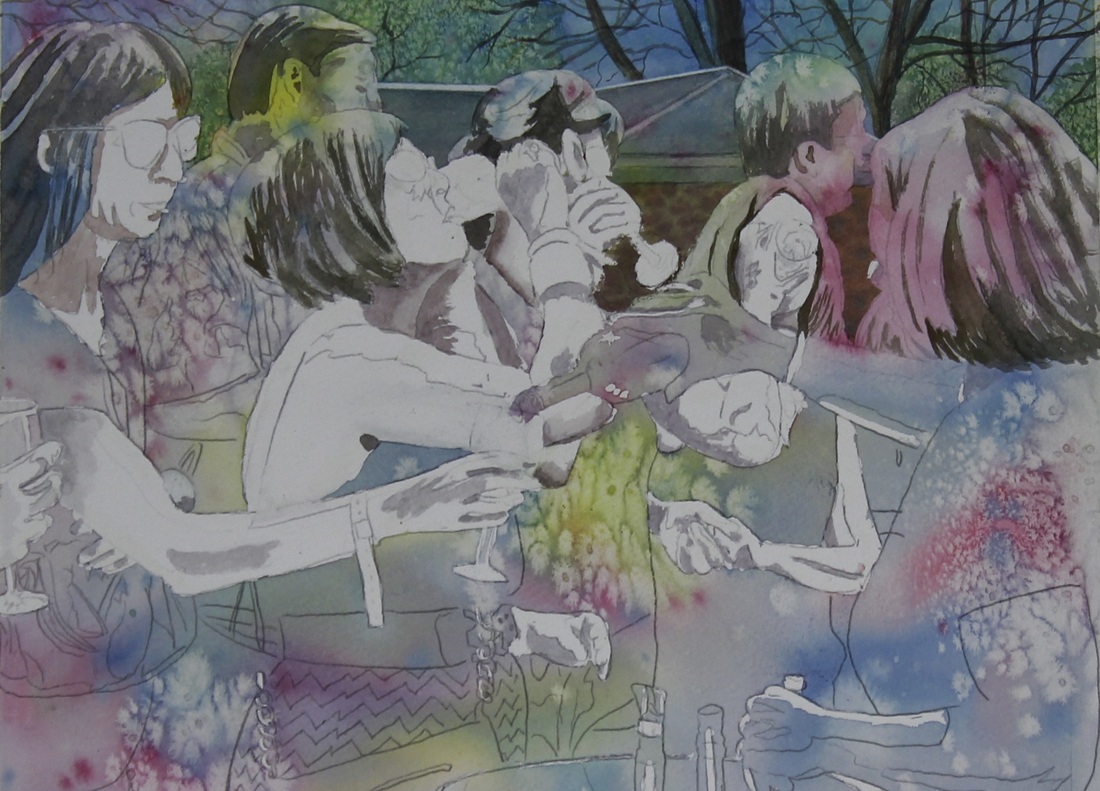
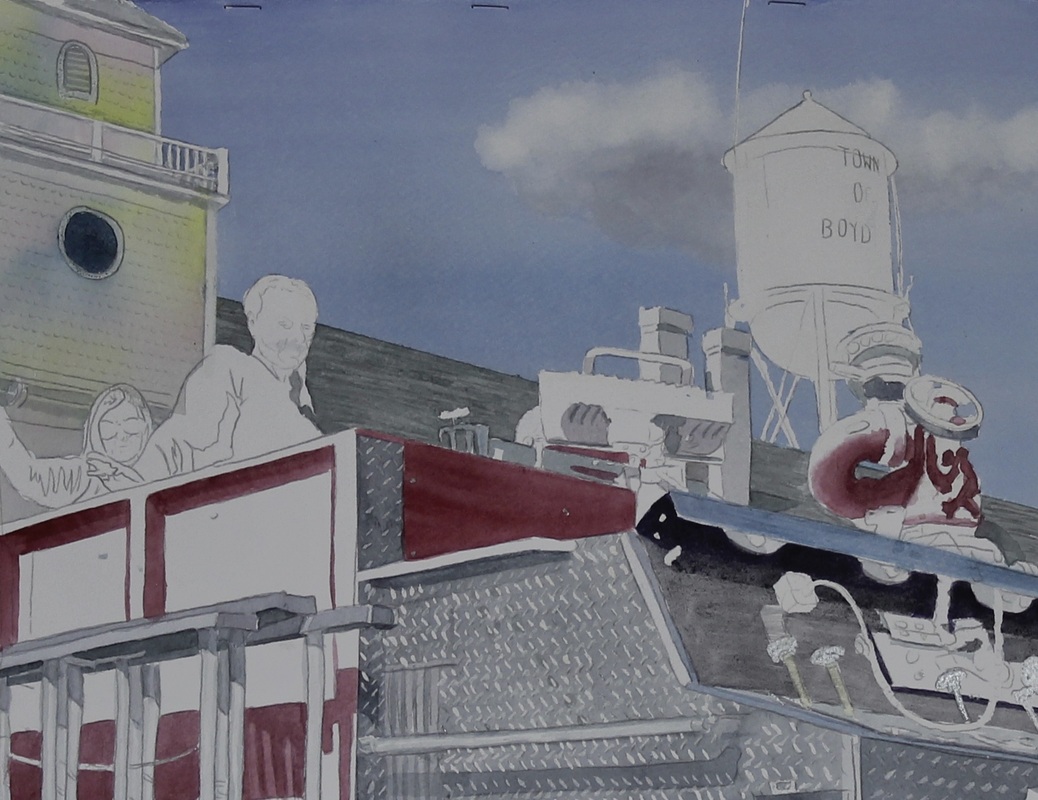
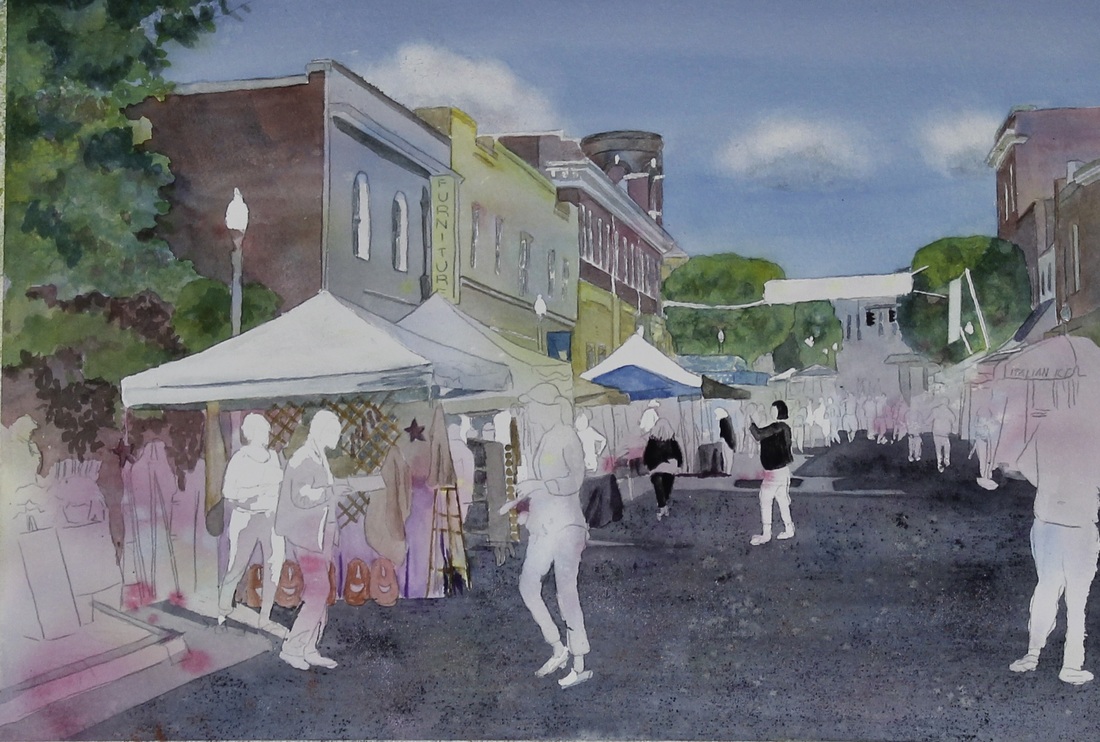
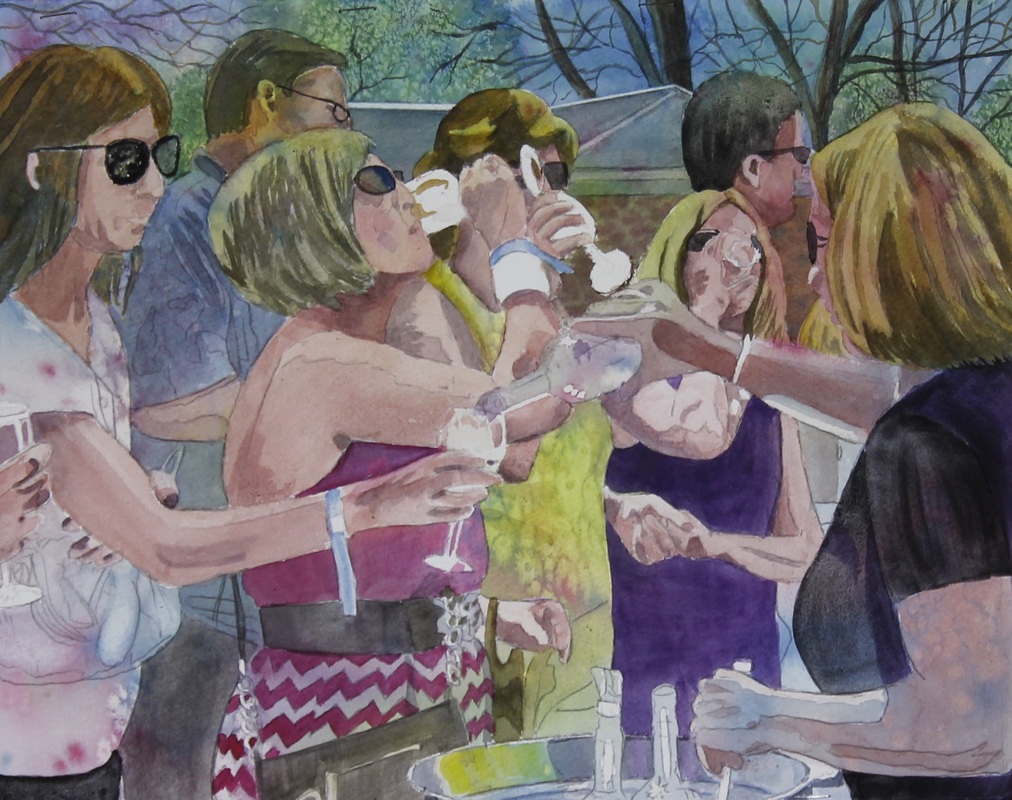
Doesn't look like much, but it's a great start!! Boydton Parade/Fire Truck is masked just so I can freely paint the sky - I won't do much underpainting on the firetruck as I want sharp images. "South Boston Harvest Festival" is ready for underpainting - so much of it is in shadow that there is really very little I want to preserve for bright colors. And "Girls Just Wanna Have Fun" isn't masked yet - will protect the 4 gals and underpaint the rest.
0 Comments
Probably looks like I've lost my mind!!! Here is today's progress report! Underpainting done! Paper must be completely dry before masking/taping the next sections if applicable, or it will pull up all the paint and the top layer of paper! I hate it when it does that!!! I usually paint series of 3 just because I have to wait so long in between layers.
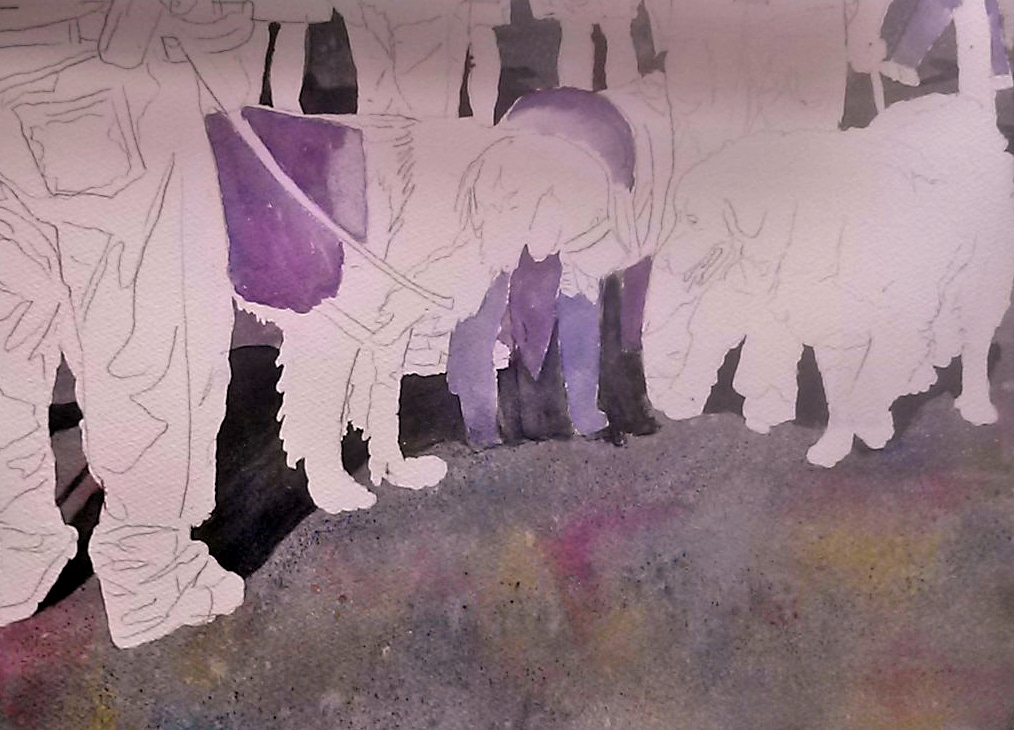
Well, I made some progress - never as much as I want to, as life always gets in the way!!! I taped off the fire truck for the darkest greys - it needs to dry completely before adding masking and going to the mid tones. City of South Boston is off to a good start on the sky, trees and street - still needs more tweaking before going on to the buildings and finally the people! The girls are still having fun - I masked off the folks behind them and was able to put in the sky, trees and building. The fun part for me comes next - while they still keep having fun on their own!
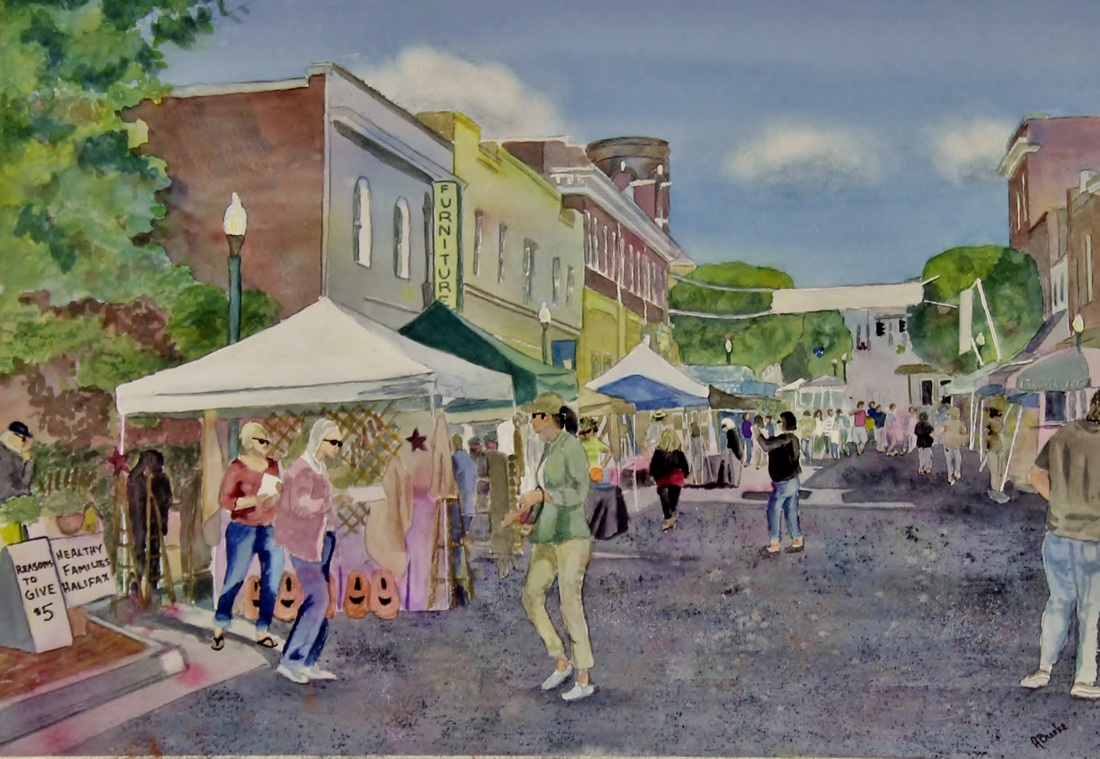
The fire truck needs a lot of taping and masking and seems to be taking forever. I'd like to meet the person who discovered that "Magic Erasers" will take color completely off of watercolor paper and THANK them from the bottom of my heart! There is a little dark gray blob on the white trim of the building that needs to be scrubbed off after the paint around it is thoroughly dry! The town of South Boston is coming along - windows still need to be put in - and then the fun of the tents and people! There weren't supposed to be any clouds - I never seem to learn to keep my hands out of paint and my hands off of the paper - so voila, a cloud appears - or 3! And the girls are still having fun without me! This process is certainly making me paint every day and I'm loving every minute of it! Thanks, Kristen!!! :-)
Fire truck is getting there - I painted a series of train paintings for a show awhile back, and this reminds me of painting them - all the levers and dials and switches - and trying to paint them so they look right - it's fun!!! I did a little more work on the town. And the girls are starting to wake up. I tried something new and masked only the arms and faces of the main characters, but did a little masking on the secondary characters - can't get their skin to come out right - may have to put them back in the tanning booth! From this point I'll probably work on finishing the paintings one at a time and stop my little factory til they are done!
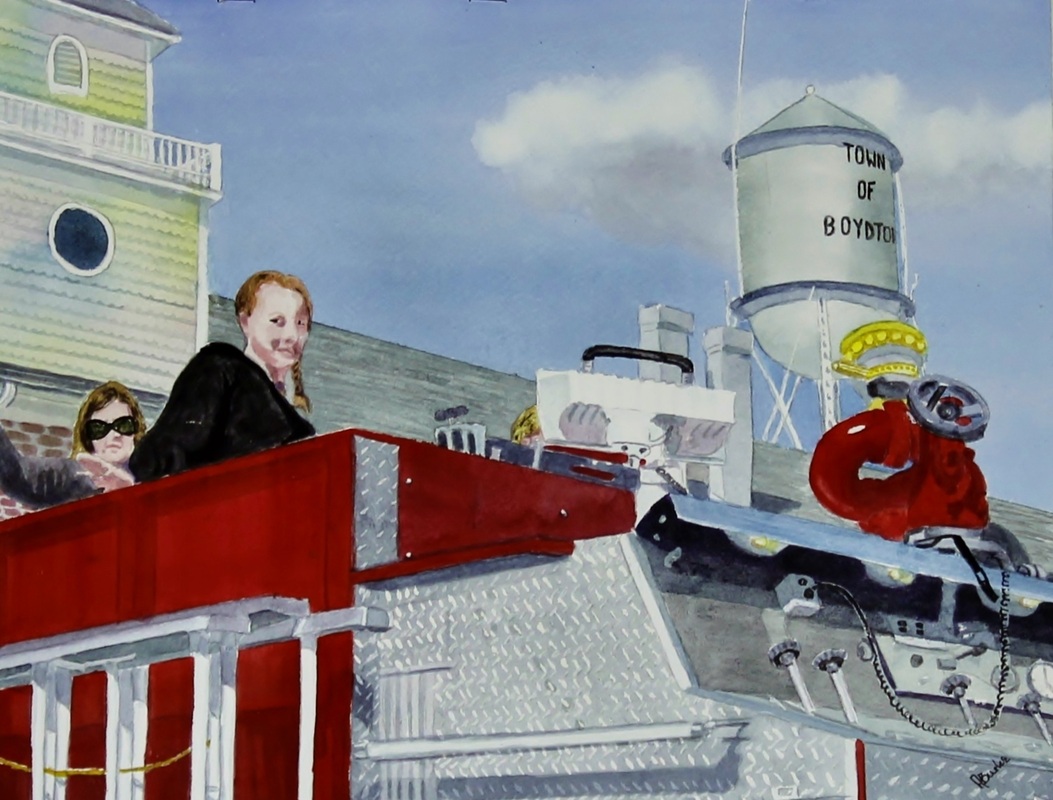
It's not a parade without a fire truck or two! Always my favorite part. I like how the truck came out. The ladies could use more color, but have learned to leave paintings alone before I mess them up!! It was a lovely day of painting!!! I wish everyone had something they loved doing so much that time flies by and ya can't believe how long you've been so totally absorbed!!!
Another one bites the dust! Ha! Each time I finish a painting I see a million things I could have/should have done differently - trick is to apply it to the next painting! I like it because I like the scene - we have so many wonderful small towns in our "day trip vicinity" - most with beautiful downtowns like this with the gorgeous old buildings - and all of us living in these small towns LOVE LOVE LOVE to see the streets filled with people! The banner across the street is the backside of the banner announcing the Harvest Festival - I may go ahead and put in the words anyway! I like the colors and think the light/darks are portrayed ok - can always be better and more vibrant - just takes more paint and less water!!! I can do that!!!
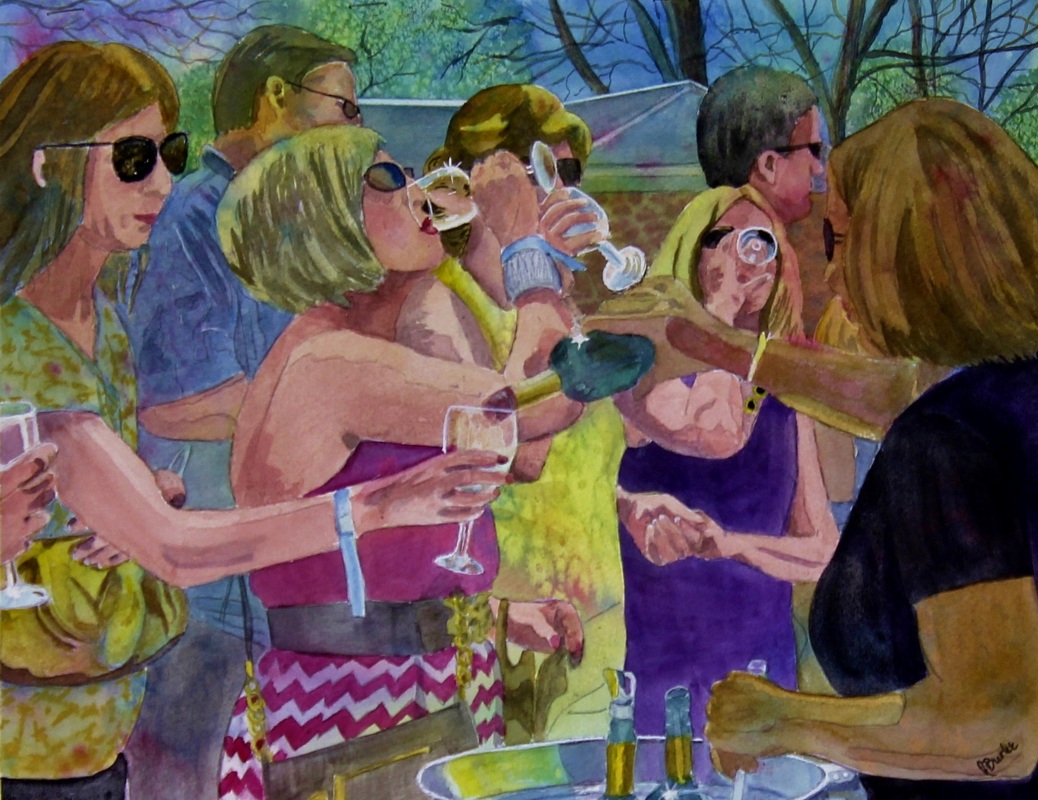
I really like this painting - I hesitated to paint it when I took it last April at the Wine Festival - mostly because I didn't know the ladies and didn't have their permission - I still don't know them and I still don't have their permission, but I changed their clothes and put dark sunglasses on all of them - voila! I love the energy of this picture - I am so lucky to have several awesome women in my life who we can get together and laugh, sometimes cry, but always share the love!!!
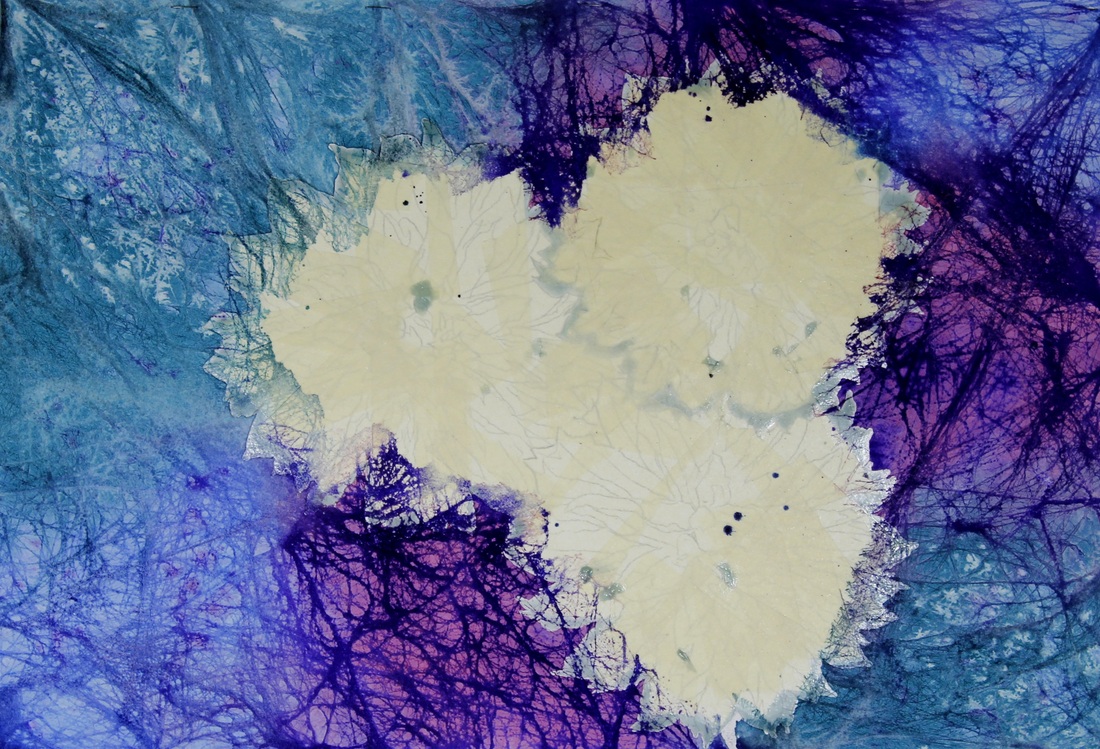
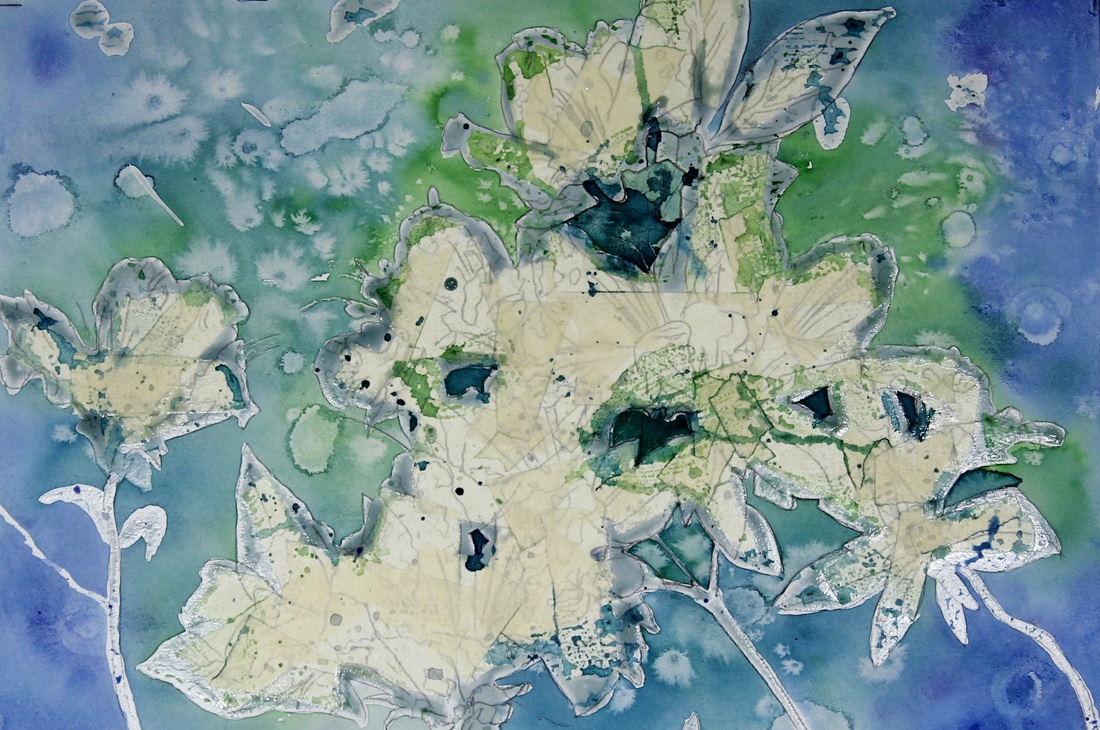
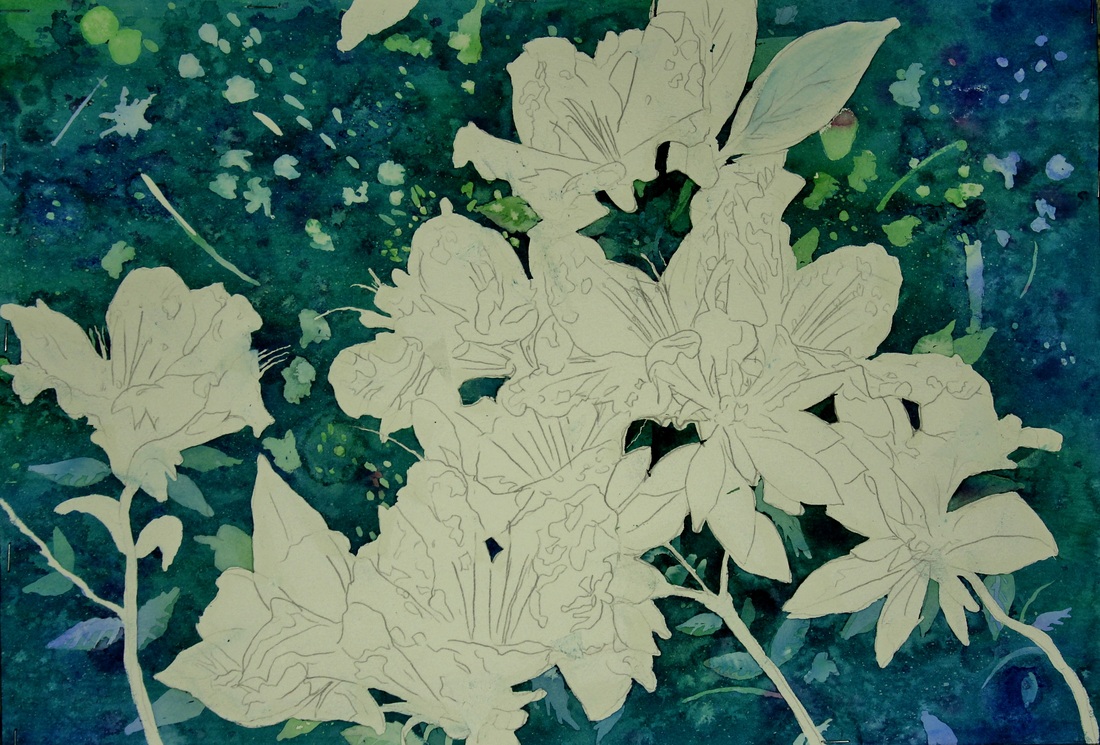
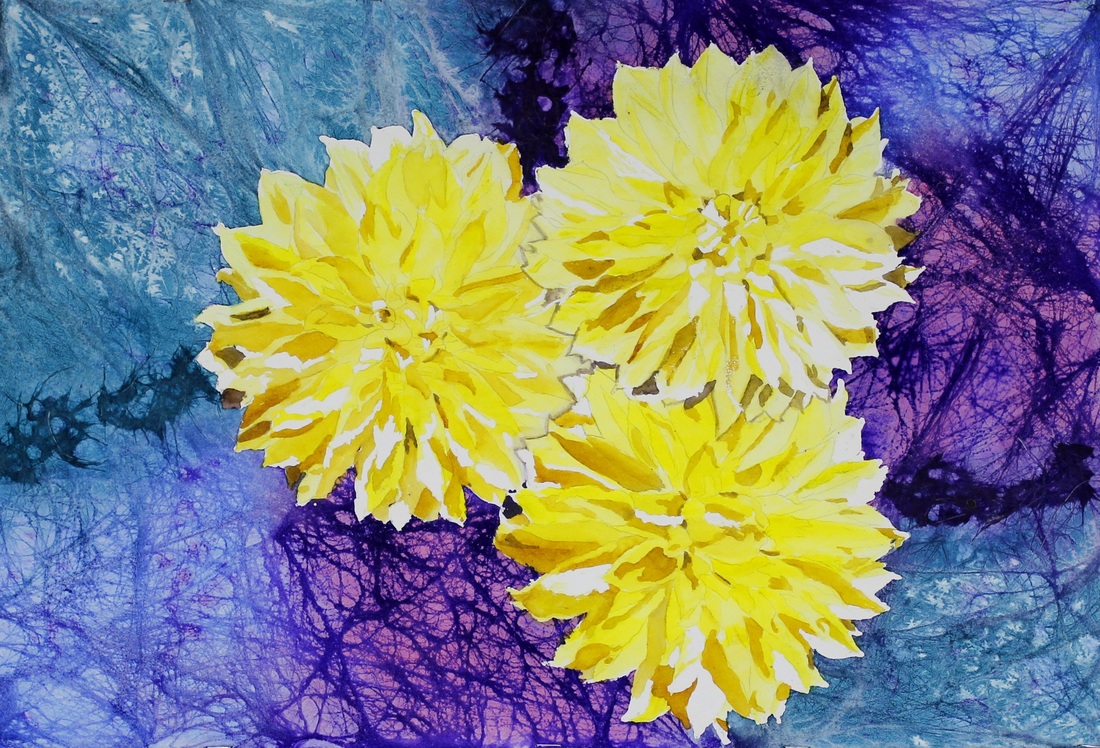
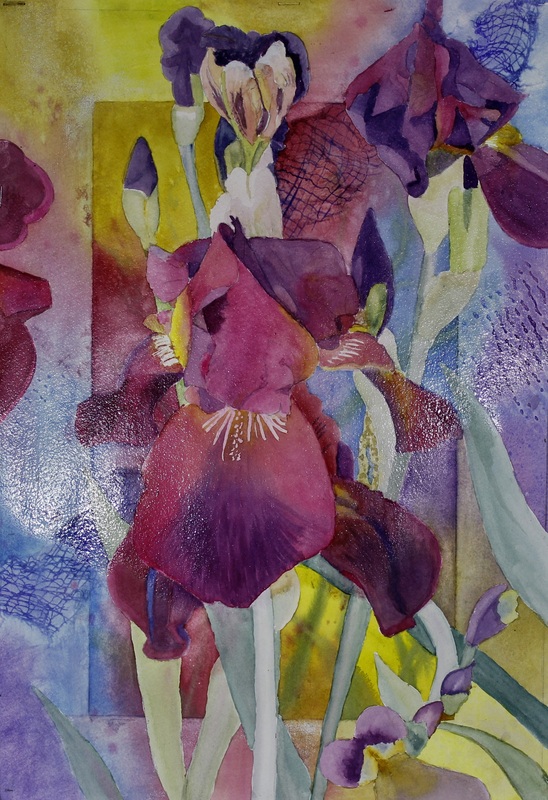
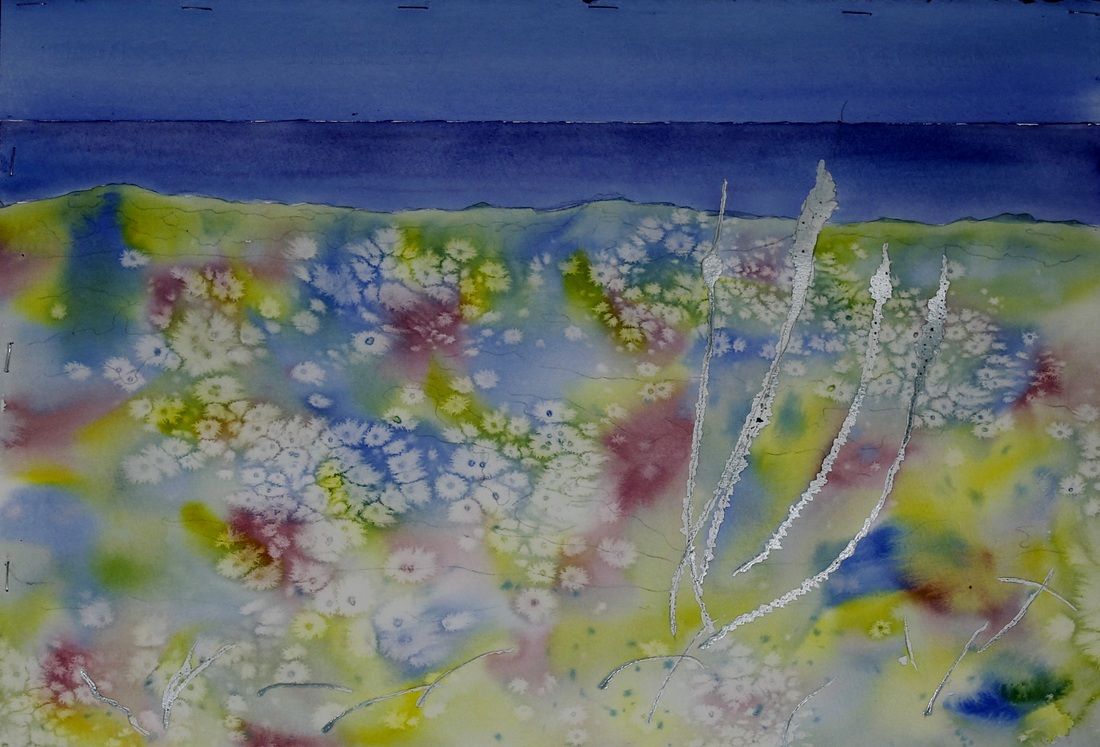
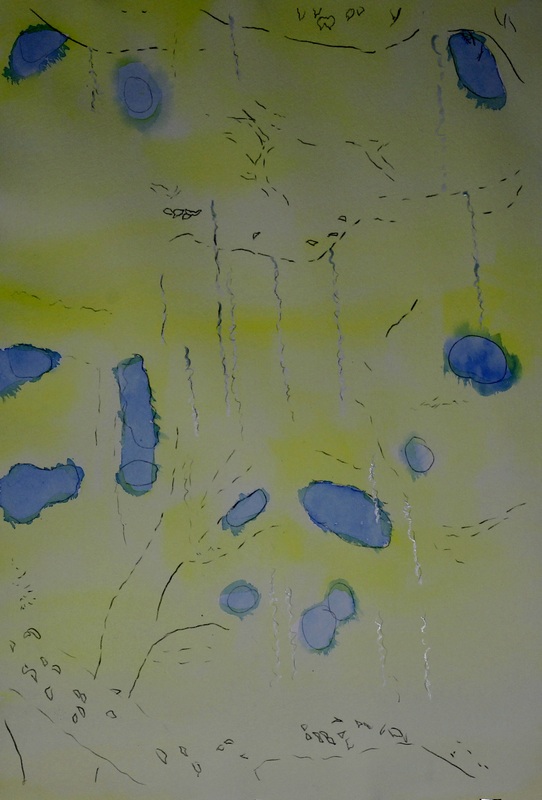
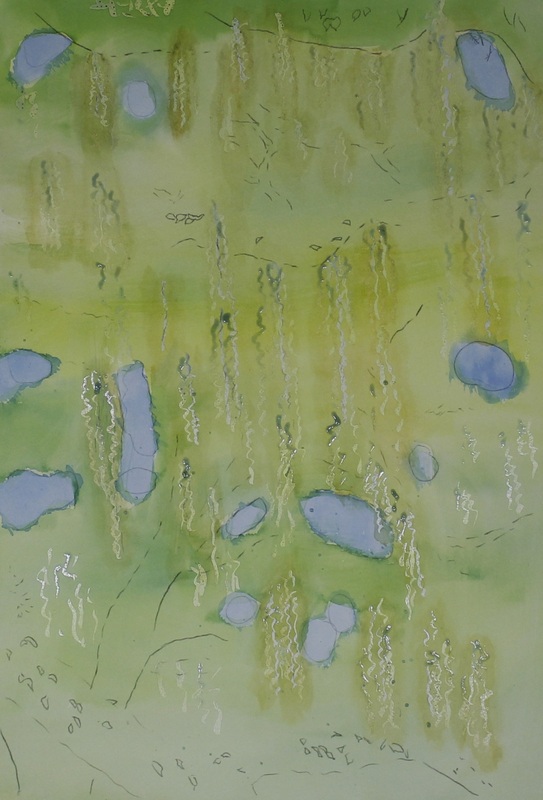
My first set of paintings in this challenge was truly within my comfort zone, as most of what I have painted the last year has been "street scenes" of people having fun in and around Clarksville! For my next set of 3, I'm going way out of my comfort zone and doing some funky backgrounds with realistic flowers. Here is the first go-round of the backgrounds:
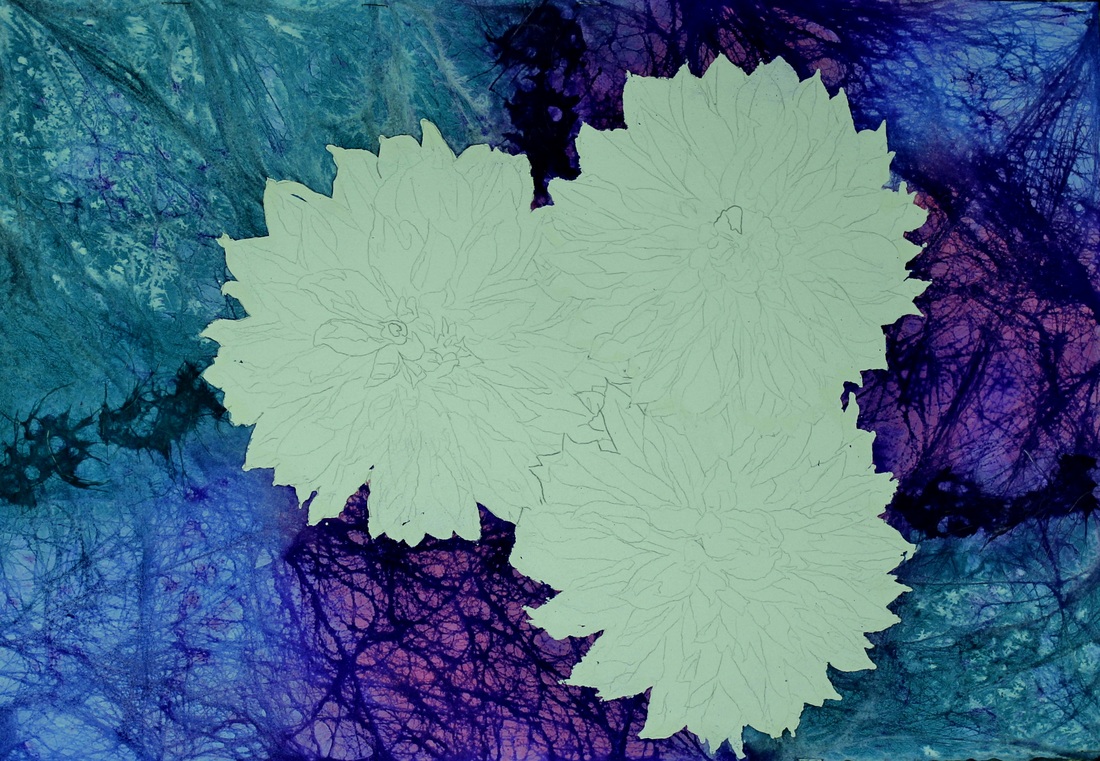
Oh these are so much fun to do!!! I've used a couple of new techniques - drops of rubbing alcohol, and some foamy netting that came around pears we received as Christmas gift from Auntie Di. And some old tricks - negative painting, Halloween spider webs, Ogura paper, and my old favorite - salt! I love the colors - the show is called "Bold, Bright and Beautiful", so here I go!!! Next step is masking out the whites on the flowers to protect them and then off to painting the flowers! I'll finish them individually as with the first batch. It's been really cold out and this is such a wonderful way to spend my time! Thanks for following this - we are 1/3 of the way done! :-)
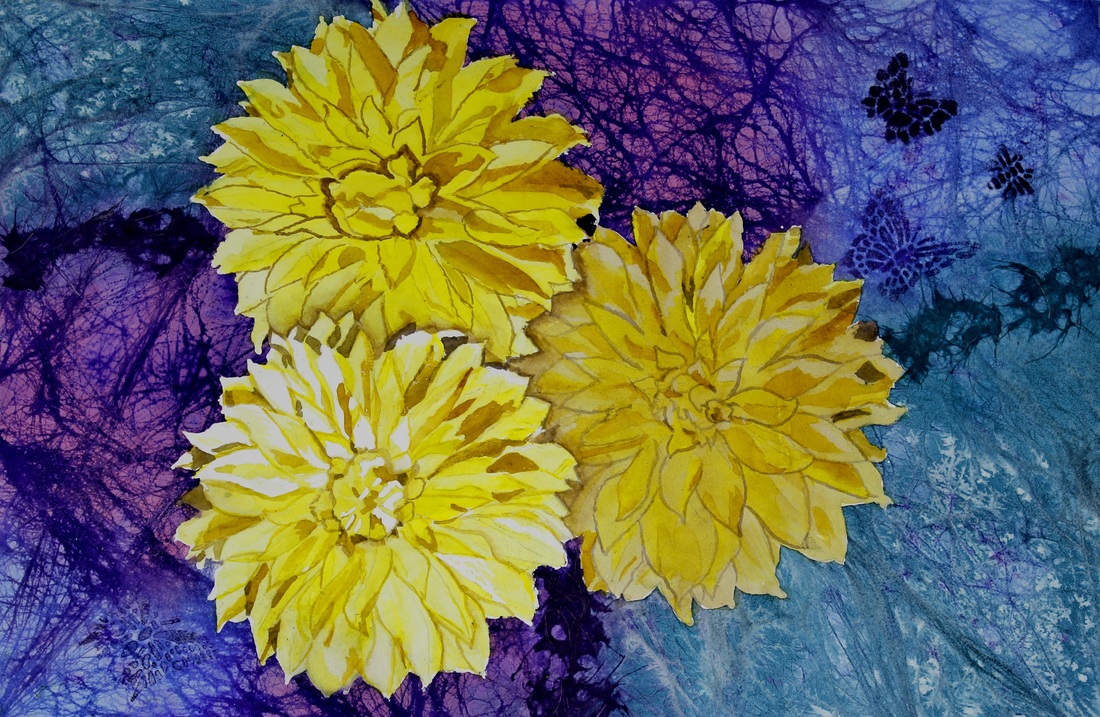
I have a lot more tweaking on the flowers to do - the browns are too dark and need lifting, and the pedals need more definition between them. Almost there!!! I do love these flowers. My friend Betty's daughter brought them from her garden in TN and gave me 2 to take photos to paint from. They were huge and just stunning!!! Very thoughtful friend, indeed!
And this is a fine example of how NOT to overwork a painting! I thought by glazing flower #2 with yellow and flower #3 with light brown, it would set them back accordingly. It kind of does - got carried away with the line work trying to identify the pedals. This is NOT a keeper, but it's a good lesson and I will try it again. I do like the background - it was a little too light so I put down stencil and used sand paper on watercolor pencils to add some butterflies and a bee! Did I mention I am having too much fun doing this? :-)
A little on the wild side, eh? I'm having so much doing this set of flowers. Jim's Aunt just moved into her new home in Raleigh, NC (from San Diego) and I told her for a house warming gift I would paint a picture similar to her floral bedspread for her. I want to give her a choice of backgrounds and styles and see which she likes best. I'm doing wet-on-wet on this one...never been good at wet on wet and get blossoms and too much water - but it's a great learning experience and I need to get better at it!
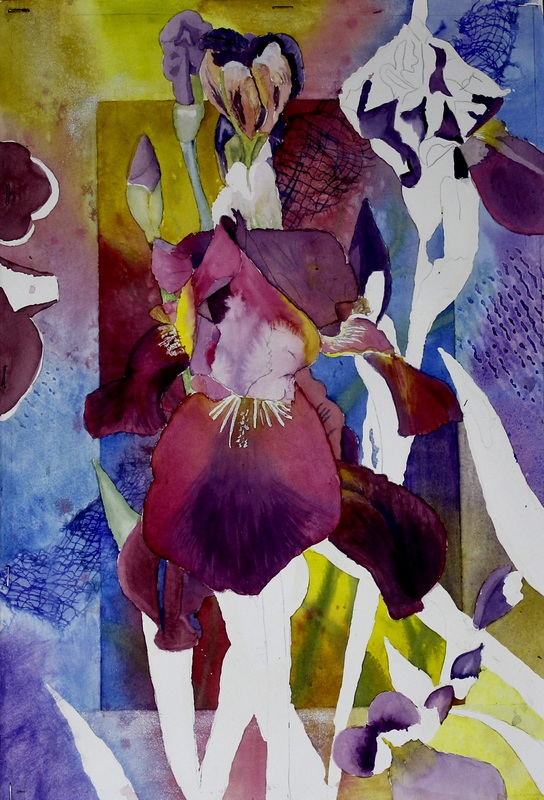
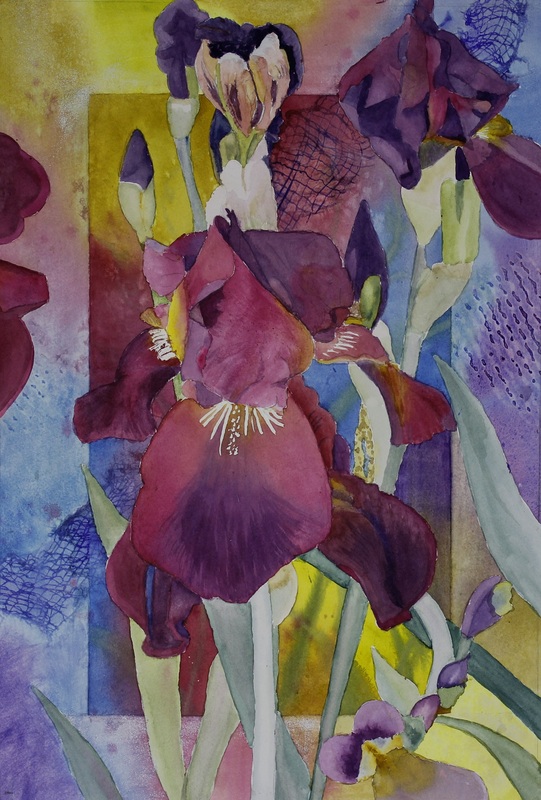
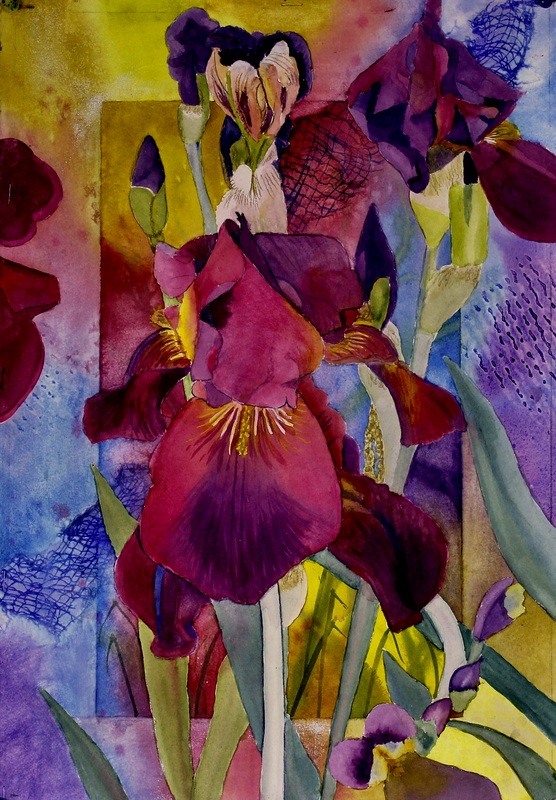
I won't be posting tomorrow as my friend, Barb and I are going to an auction. Jim and I went to it last year and it was really fun - there is a huge building downtown with lots of "booths" and so many cute things! They use the money from this auction to fund all the wonderful things they do for kids throughout the year. Great people and a good time will be had by all! I have been painting dark to light for a long time (as taught by Laurie Goldstein-Warren). It works great for everything, really - but for flowers I was looking for a little more luminosity! So I was doing wet on wet and making a mess and getting sooooo frustrated. Karlyn Holman has written several watercolor instruction books and her DVDs are phenomenal. I think any artist considering making DVDs should watch hers first and learn from the BEST! Anyway, long story short - I had a couple free hours yesterday before the auction and sat down and watched one of her videos on painting flowers. Wet on wet, yes - but knowing which paints are going to travel in water and which are going to stay put!!! I was using Windsor Yellow (huge traveler) and getting lots of mud and blobs (and blossoms!). I need to play with paints first and see what effect they are going to have on each other when they are sitting in a puddle of water! Secondly, I wasn't paying attention to lights against darks (between background and subject) and learned the coolest thing! Put painting under running water (very scary - pictured all the paint going down the drain)....but actually I was able to lighten areas and not disturb anything I didn't scrub with a brush! I'm SOOOO happy!!! #1 is before the sink and #2 is soaking wet, but you can hopefully see the difference! . I'm not quite definitely finished - needs to dry completely overnight and I'll do some tweaking - leaves need more color and the stamens of the flowers need to be done. But I think the flower pops out much more in #2 than #1.
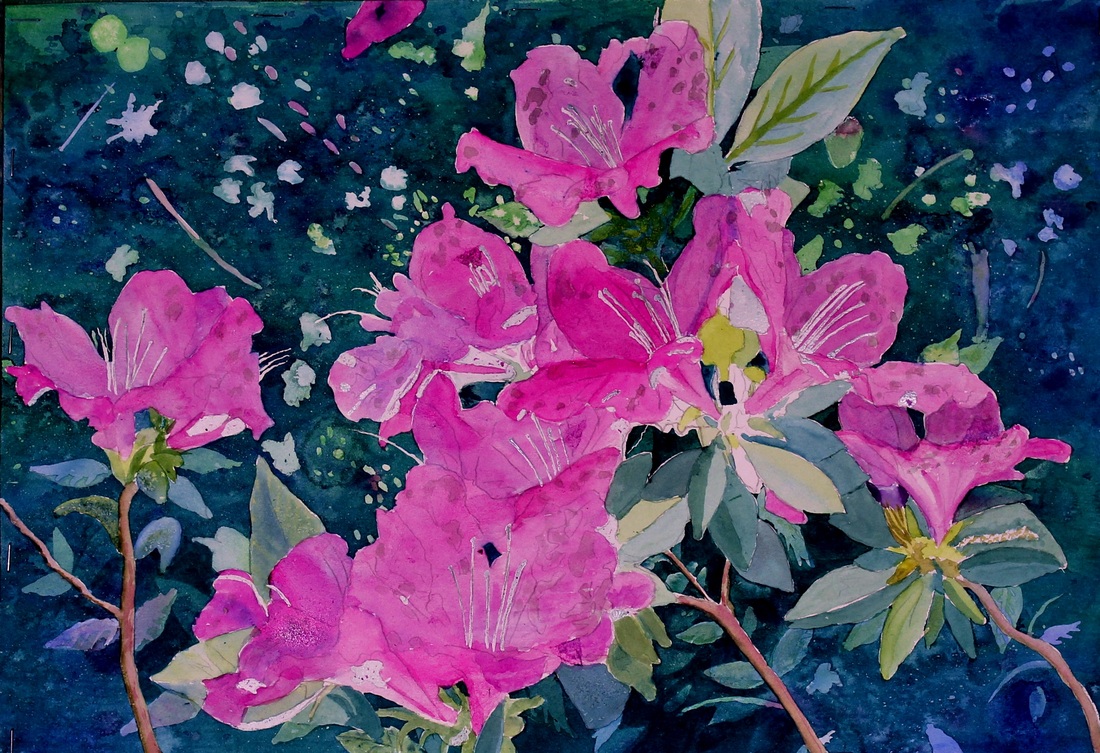
Well, I'm pleased with the Iris correction - will plan better next time! It's all a learning process, indeed! The Azaleas are off to a good start....I really like the background, now to make the flowers as rich and deep as the background is and we'll have a winner!!! Actually I need to move on. When I prepped the Azaleas for painting the background, I covered the flowers with masking tape and masking fluid. The masking fluid works great, but the tape tore several pieces of the top layer of the paper, and unfortunately, there is not a way to fix that! But, I like the background and I won't use tape next time - I'll use contact paper! Need to search thru my many photos I've chosen for paintings and decide what to paint next! I'm having a really good time if anyone asks!!
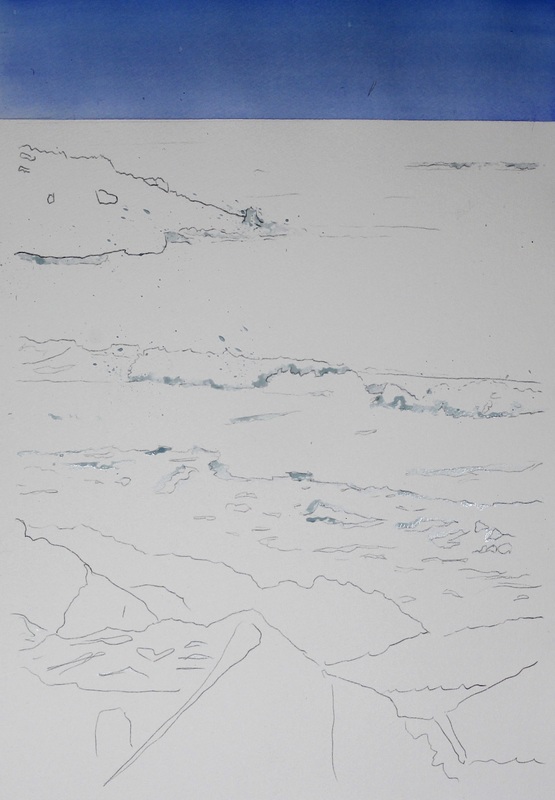
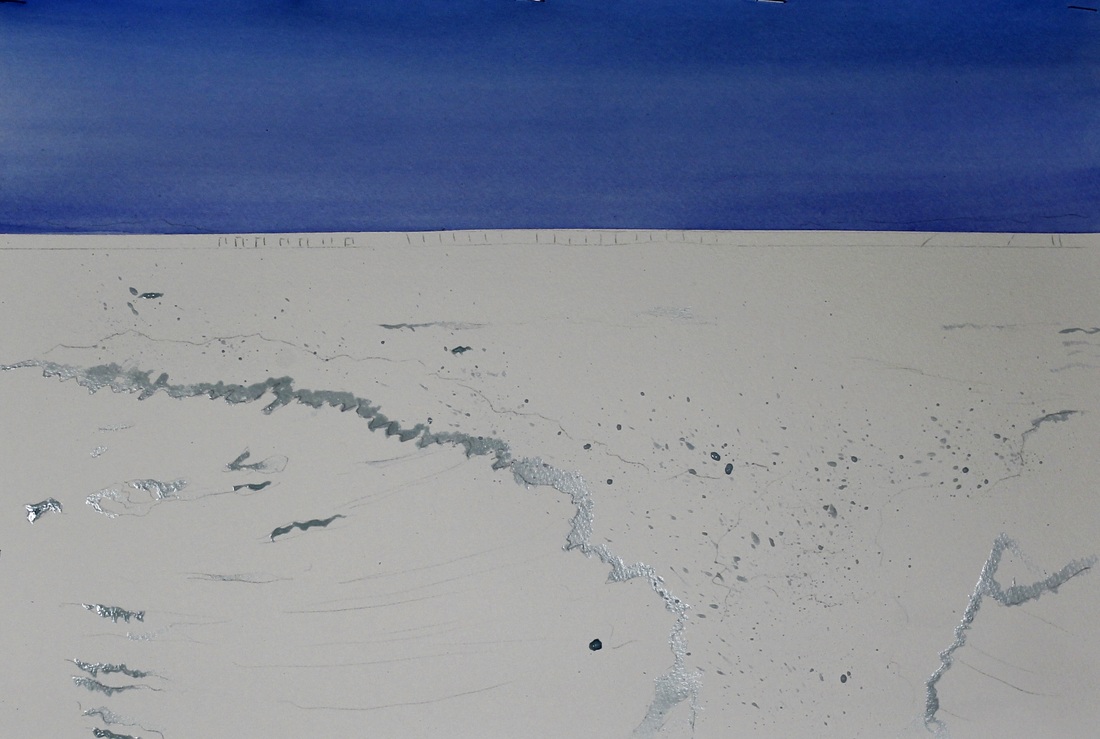
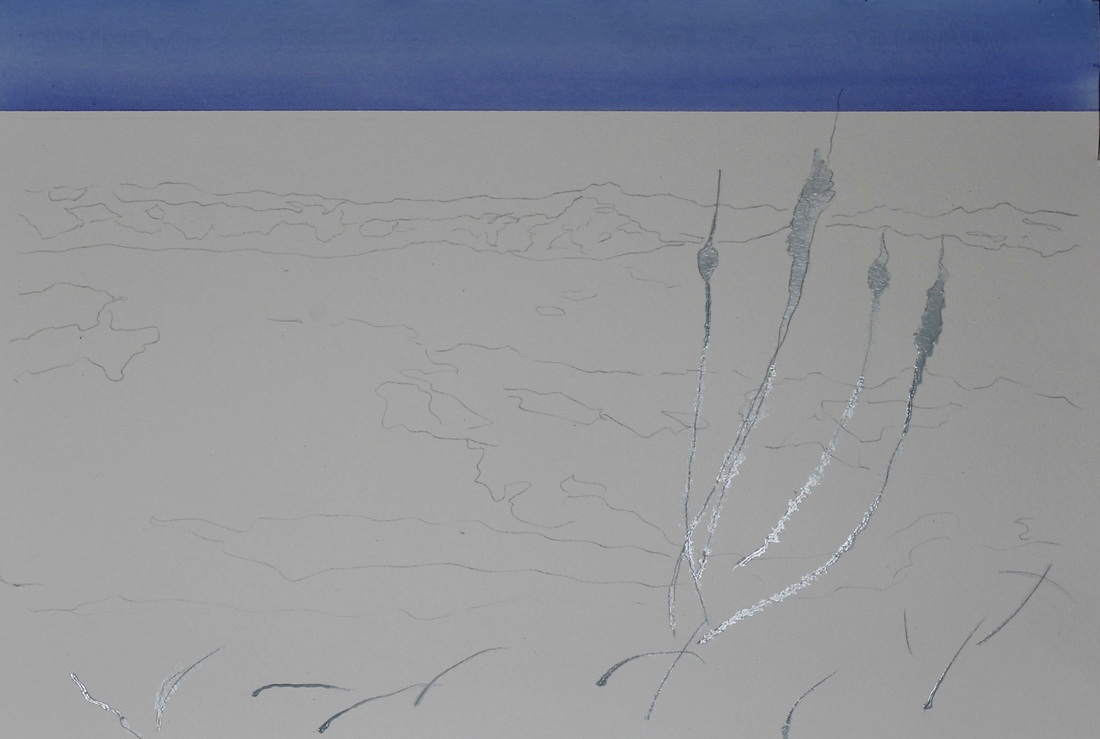
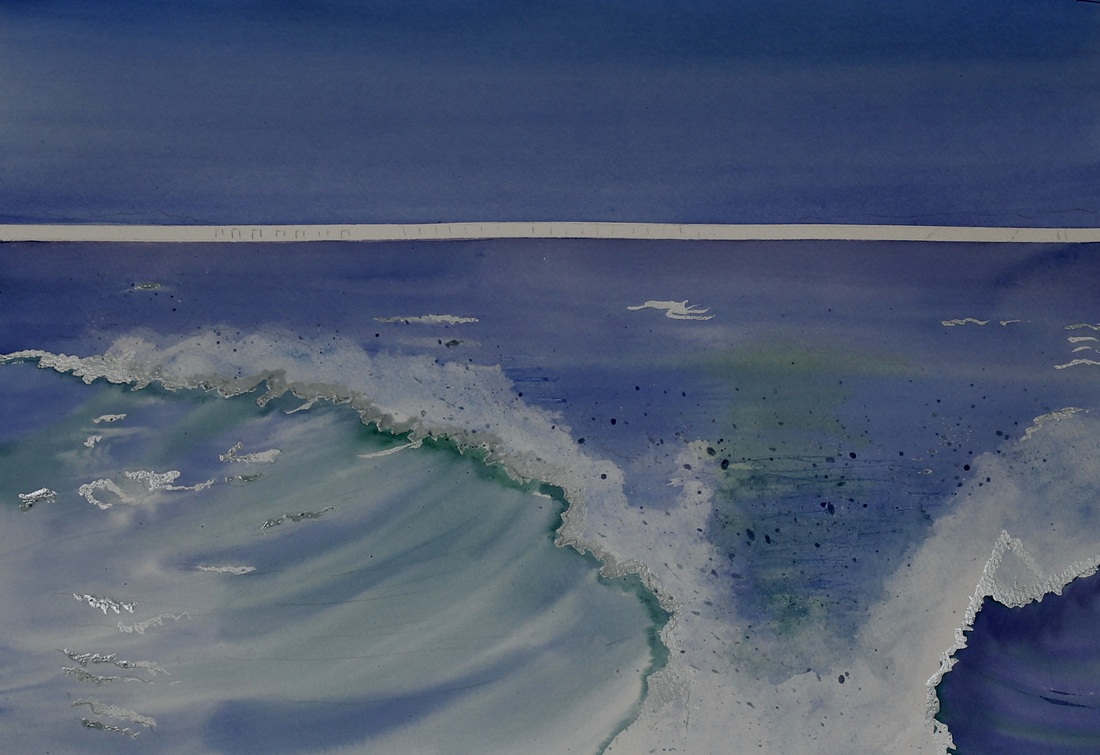
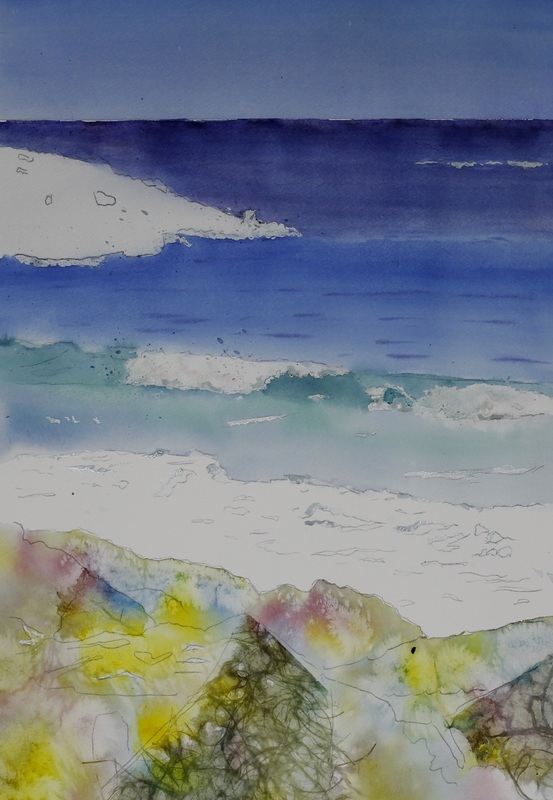
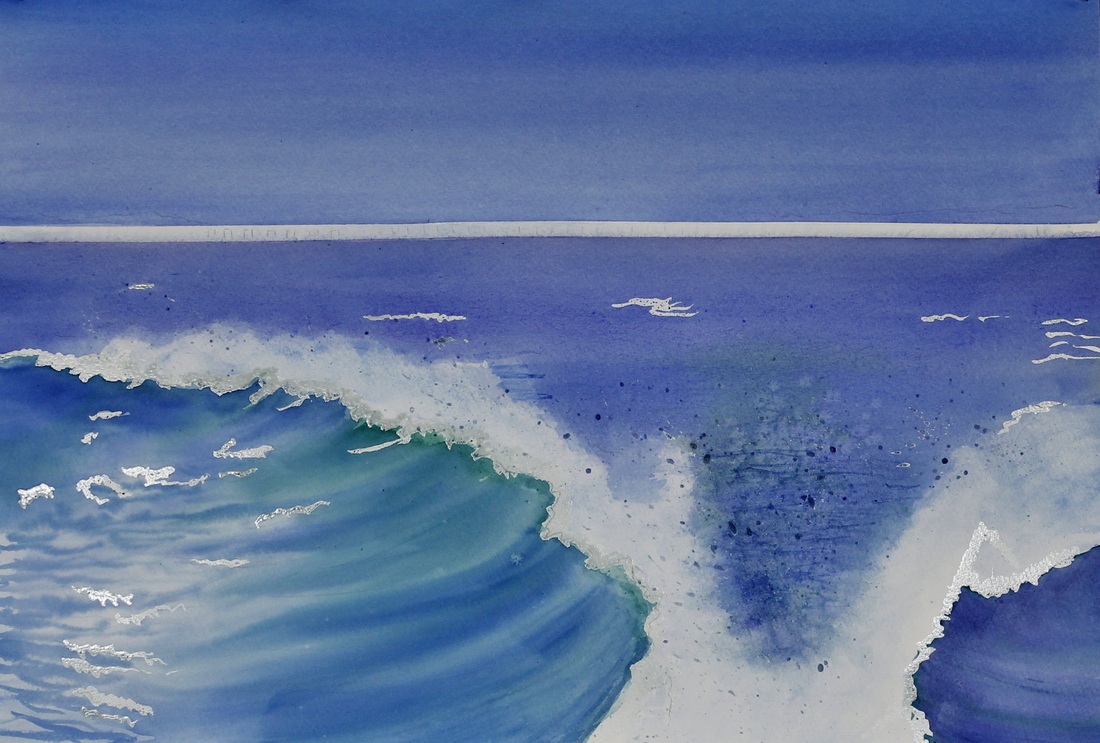
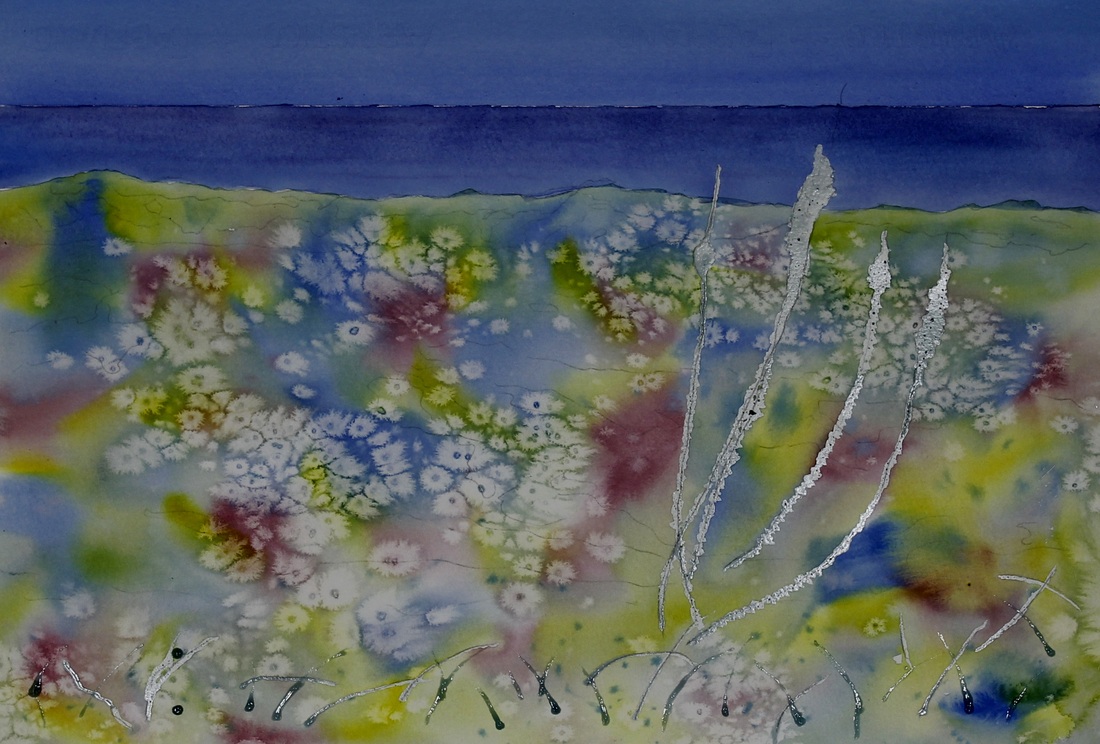
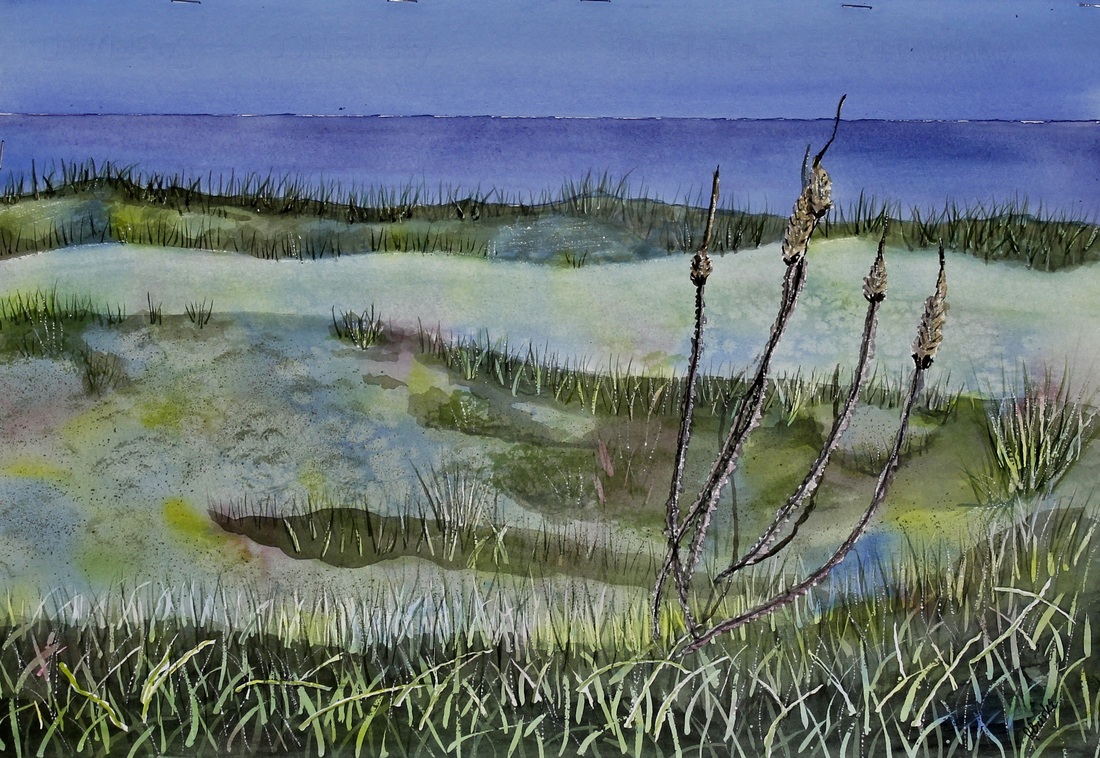
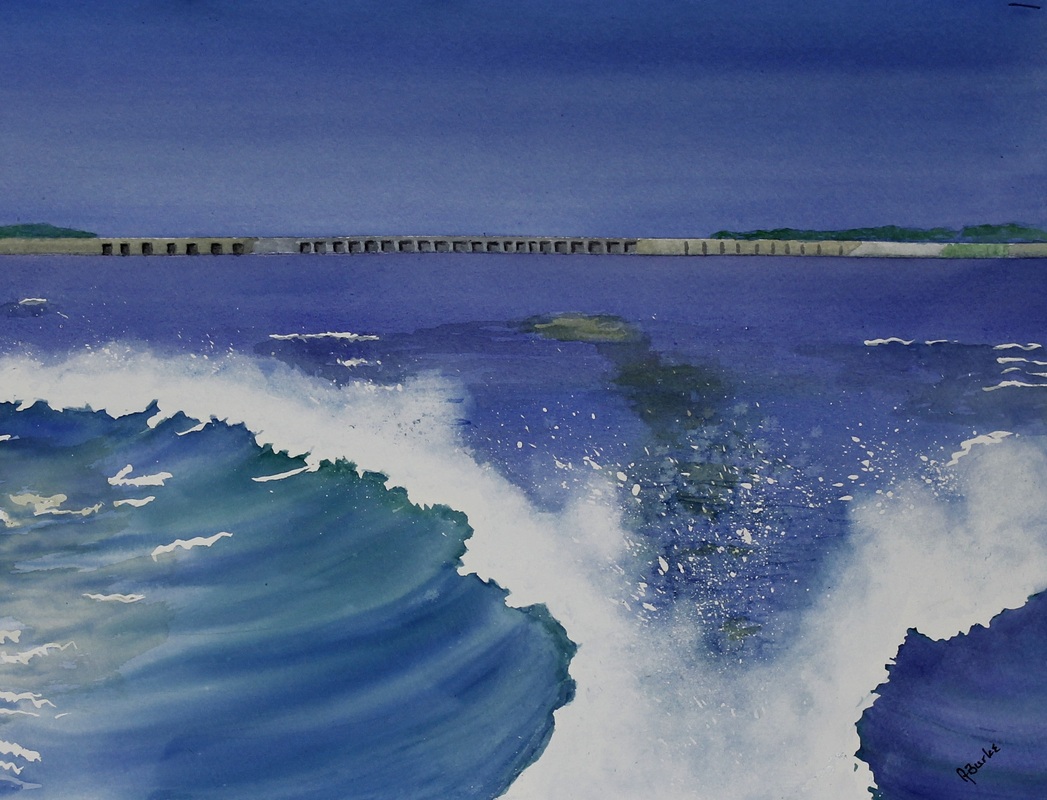
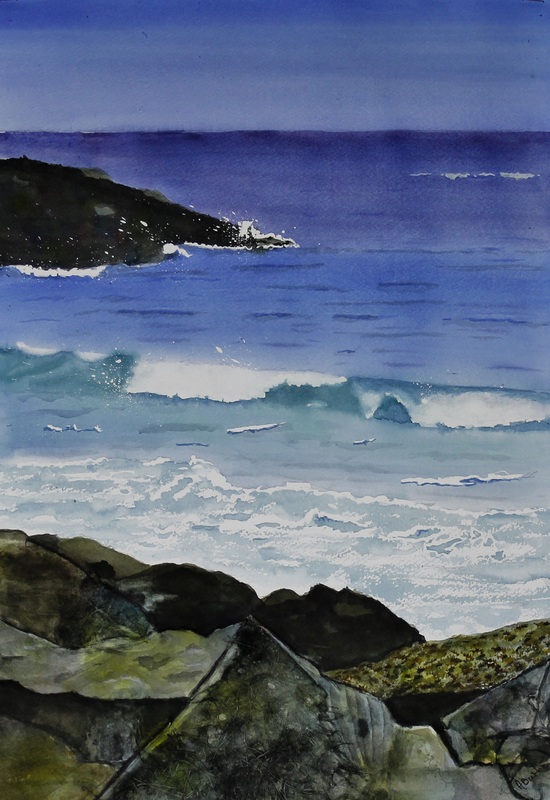
Bet you can't guess what or where these are? :-) One is the ocean as scene from Jekyll Island - Savannah, GA. The one to the right on the top is John H Kerr Dam as scene from a power boat. The on the bottom is from "The Great Dunes" park - Savannah, GA. Skies need to dry and then off to the water - wheee!!! I think these will go pretty fast as there is not the detail that I usually paint! Used just a little masking and will lift the waves out as I go to avoid hard edges on the tops.
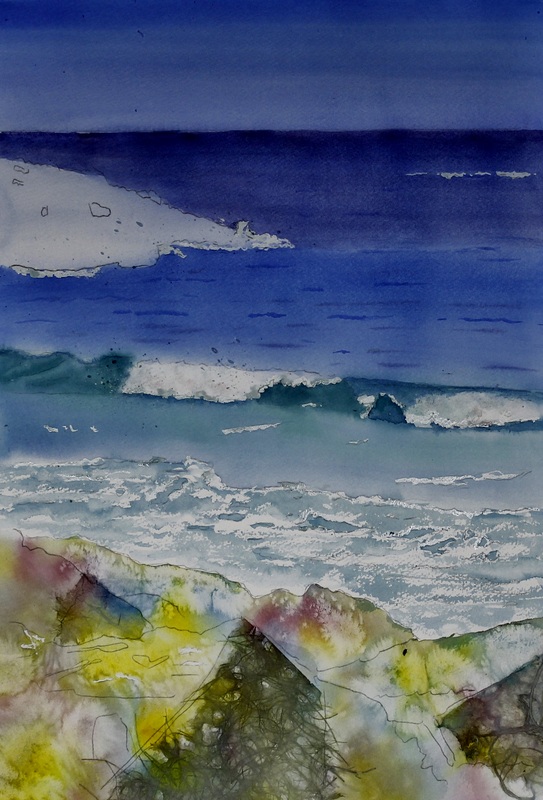
It's been awhile since I've done beach type scenes and forgot how much fun they are - and really how forgiving....more water, more paint, repeat as often as necessary! I did the underpainting on the sand, and on the rocks, too - with the addition of some rice papers to give more texture. The dam view from the boat needs lots more color, but I like where it's going. The Great Dunes of Savannah are ready for some grass and sand - will do negative painting for the grasses. And the Shore of Jekyll Island needs another layer of color on the water, and then I'll have fun playing with the rocks. These are so much faster than what I normally paint and honestly, a nice break!
Some tweaking done....wake of boat needs to be lifted out more in the center - I've tried numerous layers of salt and still have some masking splatters, but needs more - time for Mr. Clean Eraser!!! And time to put in the dam and the tree line. All that I did on the dunes was mask in another layer of grass - many more layers to go. I'm loving the colors of the ocean at Jekyll Island - haven't used Phthalo Blue, Phthalo Green and Alizarin Crimson in a long time! Nice to play with my old pals!!! The rocks are next - love doing rocks!!! Anxious to see how the textured paper comes out! I should have the 3 of these complete tomorrow - forecast of rain all day, and my chores are done - yay!!!
Yay - a full day to paint and listen to the rain!!!! I'm done tweaking and pleased (well as pleased as I ever get - can always find something wrong and something to do better next time!) with the results. I like all the colors in the sand, though my husband never understands why I put in colors that don't belong! The wake in the boat is ok! I need to get away from using masking fluid on the water - too harsh an edge and too hard to get rid of! I really like the effect of the rice paper on the rocks. Watercolorists do anything we can to add texture to a painting!
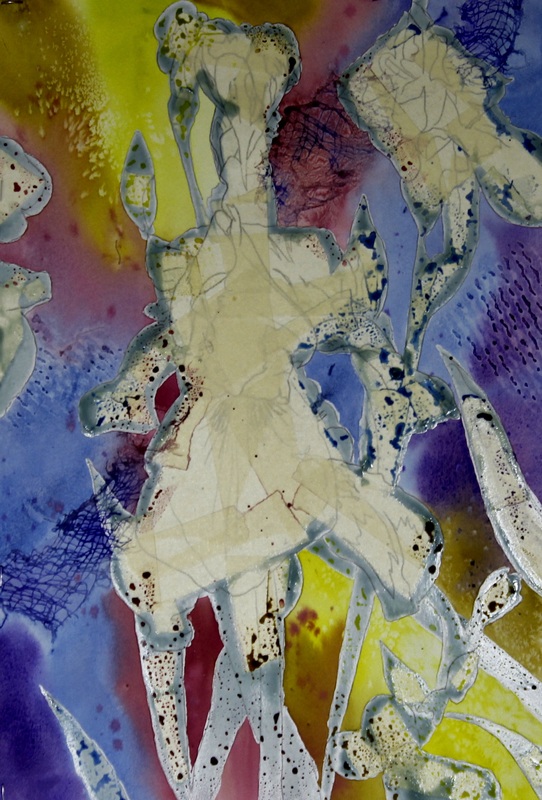
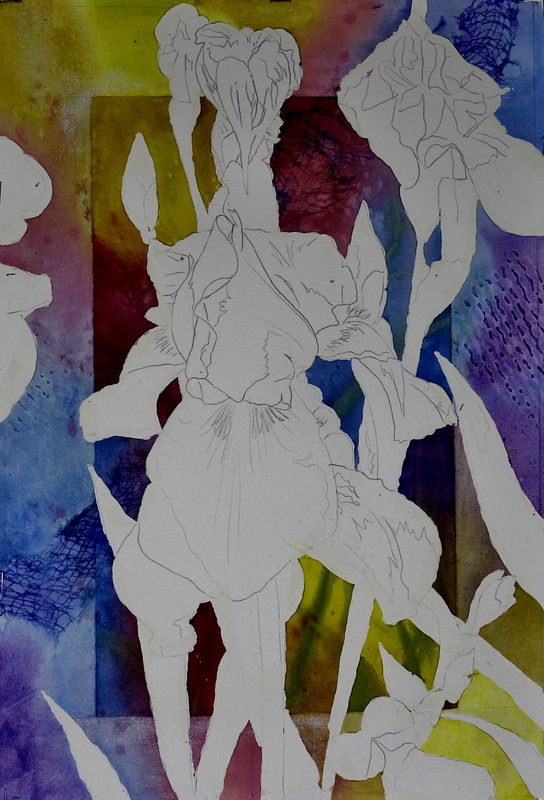
I ordered a DVD from Susan Harrison-Tustain of New Zealand!!! Found her thru the Facebook 5 day artist challenge and can't wait! A new fellow artist friend (also from Facebook challenge) took lessons from her and said it's life changing!!! Should arrive Wednesday!! Three weeks into this...my how time flies!!! I'm only doing one this next session....in anticipation of great knowledge being acquired by watching Susan Harrison-Tustain's new (to me) DVD that arrives tomorrow! I met her thru a new artist friend on Facebook and hear she will change my world! I love her work, and my new artist friend's work who studied under her. The style, the colors, the capturing of light - they just touch my heart!!! Anyway, I like the picture this was taken from, and if nothing else, can donate it to the next auction for the local SPCA! And I'll save the very large Iris I've sketched to practice these new super techniques on!
Anyway, here is the start of "Does this make my butt look big?" - sketched, masked and underpainted! Will make more sense tomorrow! :-) "Allow yourself to make mistakes...it's the best way to learn and grow" or so they say! When I sketched this from the photo, there was a very dark area in the middle with no definition. After I masked, did the underpainting, painted the street, then painted the shadow, I removed the masking, tape, and contact paper and decided I should figure out what was in the "black hole" before I painted it. I tweaked and tweaked it with photo software and finally discovered 2 legs, a tail, more road and more shadow. Well, unfortunately, after underpainting, street, and shadow, you really can't get the same effect on white paper. So, I don't know of any way to fix this other than to stop! And that's OK - a lesson learned! :-)
Wow. Word for the day. Wow! Just watched the set of DVDs from Susan Harrison-Tustain. I had been told that it would be life changing. I think my friend is correct! She has had the opportunity to study under her and only her just since 2012 and her artwork is incredible! I've taken from many, many teachers and as a result have a bunch of them arguing in my head every time I paint! Each had a unique style and set of rules. I can't wait til I get to the point where all of this magically comes together and I create my style from the "best of"....ya know? Anyway, Susan's process is very, very slow - like 15 layers of paint completely dried between each layer - and one petal of a flower at a time, or one small piece of whatever you are painting at a time. But the results she gets with the layers shining thru is much like stained glass overlapping. Just beautiful!!! I like her instructions so much, I ordered a second set of DVDs from her this morning! Anxious to apply it all and see how I do! Yay!!!
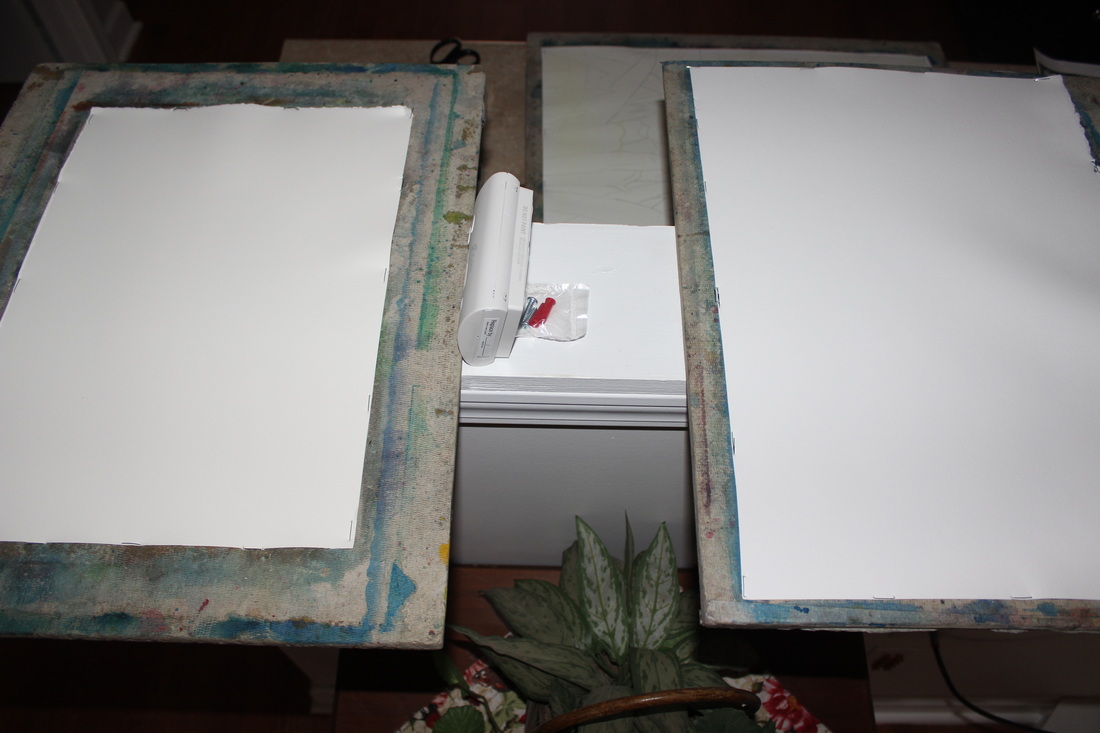
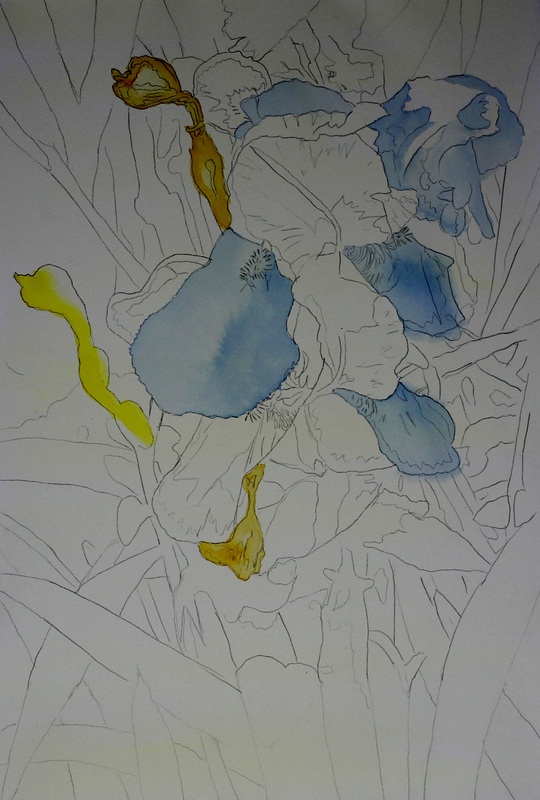
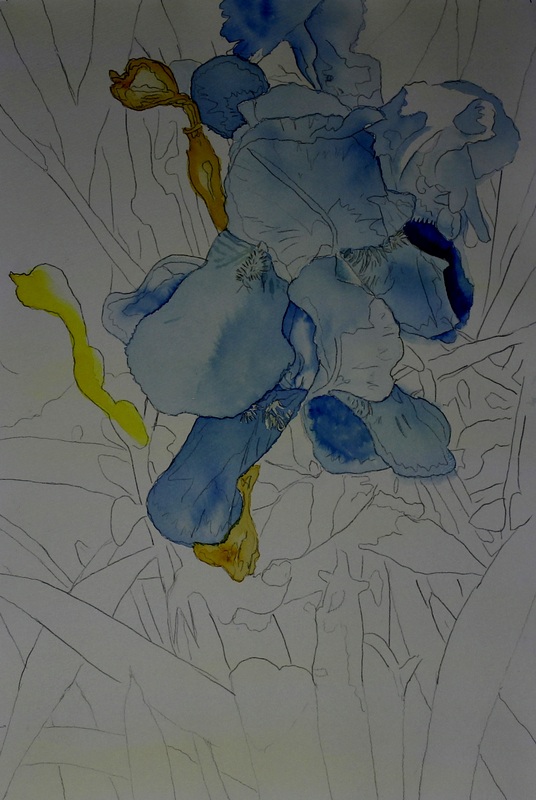
Well, I warned you it's gonna be a slow process! :-) Today I did first wash of light yellow over entire Iris painting - waiting for it to dry. Then I did what I should have been doing all along on the other two - soaked them in the bathtub for 5 minutes, laid them on boards and stapled them down to stretch and dry completely. All in a day's work! So I took my extra time and drove to South Boston, VA to take photos of downtown storefronts to paint for the show at the Prizery. They will be kind of a pen and ink sketch with watercolor. I did them before of downtown Charles Town, WV when I was in a gallery/coop there and they were well received! They are fun to do! Was a beautiful sunny day, and I stumbled into a new women's boutique and a tunic top jumped into my arms and made me take her home!
Had a lovely surprise in my email this morning! While ordering Susan Harrison Tustain's DVD, I had the opportunity to write comments, so I wrote how thrilled I was with the first set of DVDs that I was ordering my second set - and all the things I have mentioned to you. Anyway, I got an email from her asking if she could use my testimonial on her website, Facebook, etc! Of course!!!
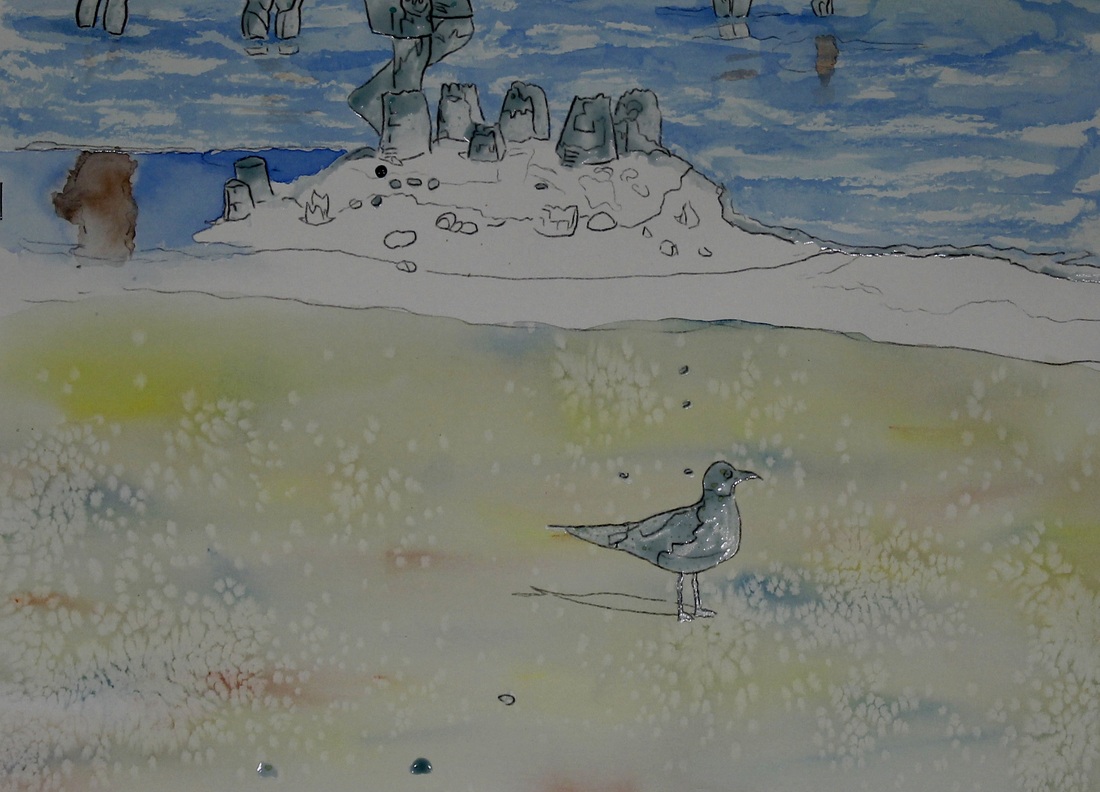
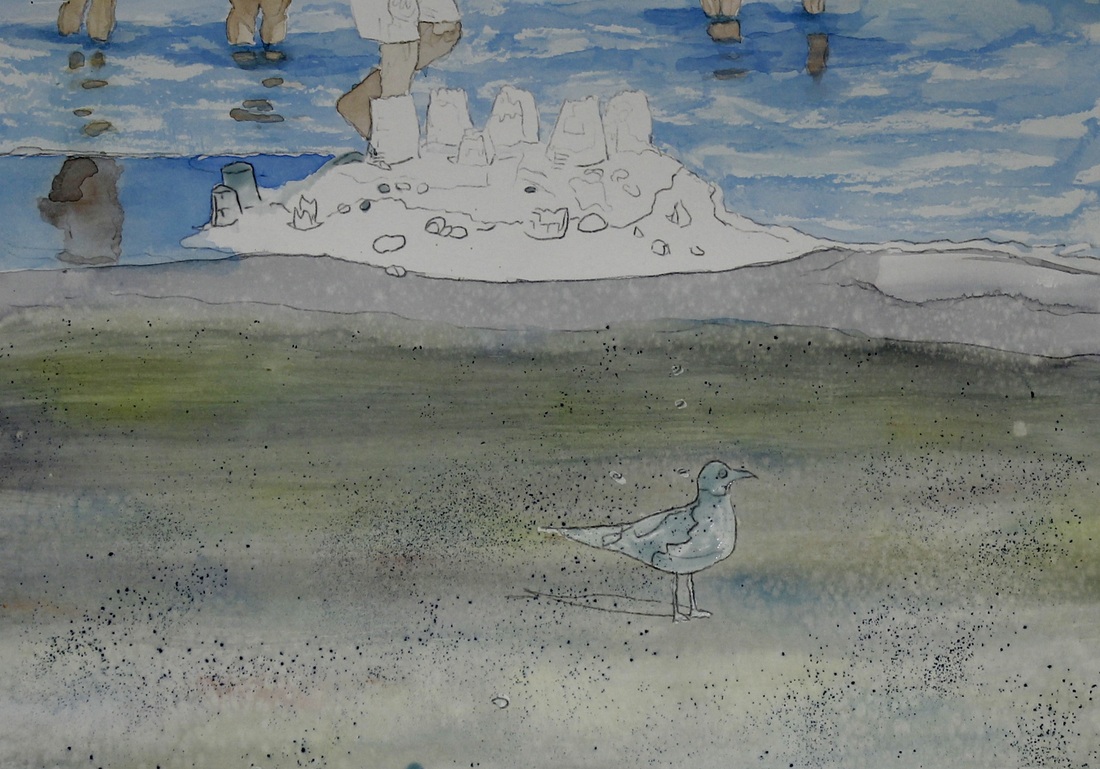
So this is day #2 of painting with my new knowledge. Did I mention it's a very slow process? :-) The Iris painting I will do as close to her instructions as I can. The Spanish Moss growing on the big tree I'll be using layers, but also masking fluid to capture the moss in layers. And the beach scene is more Laurie's style, and a little bit Birgit O'Conner - just playing on the beach and having fun!!! If anyone is reading this - especially from beginning to end....thinking it should be called "The Diary of a Mad Artist!" Hahahaha! Here I am again, dinking around trying to adjust myself to waiting patiently between 15+ layers - and only have the first 2 done - and that's not even the background! So far it's been kind of fun to play with the water and paint and try to get it darker in some wet areas and lighter in others - I think I'm putting down too much water to begin with - but it's only the first layer and have many opportunities between now and the end of time to fix them! So I've been playing - I've not yet mastered the "reflections in water" - this is an attempt, and I will do the same painting again starting with the reflections. Again, I put the 3 primary colors randomly on the background of the sand in the forefront and why I didn't just wait and do all the sand is beyond me! All good lessons! The Spanish moss - don't know if you can see the masking or not - many more layers to go - I'll keep playing with it just out of curiosity, but it's not a keeper either! Good thing it's a long time til Nov/Dec show, eh? Truthfully, I'm having a ball whether they come out right or not - and it's interesting listening to Susan in my head fighting with the other teachers who have sat their for so long! Here are the pictures of today's work:
|
AuthorAndrea Burke, WVWS Click on this if you'd like new blog posts emailed to you!
Categories
All
Archives
July 2024
|
'This world is but a canvas to our imagination' - Henry David Thoreau
 RSS Feed